
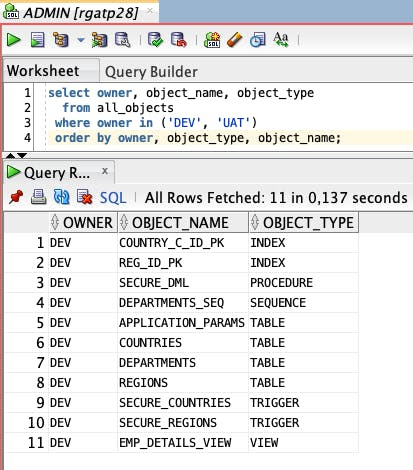
I want to move all my objects from DEV to UAT. I don’t want to think about what should be moved to UAT and in which order – I just want SQLcl to do it for me. Moreover, I won’t create any changesets or changelogs you normally should create when using Liquibase (more information here).
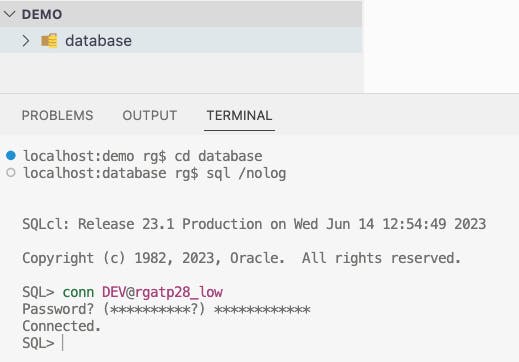
First, create a folder “database” in your local OS and go into it. Connect to your DEV schema using SQLcl.
Now, capture your current state of the DEV schema using the first command:
liquibase generate-schema --split
The generate-schema command captures all of your schema objects. The –split parameter is responsible for moving all of theminto subdirectories (depending on the object type).
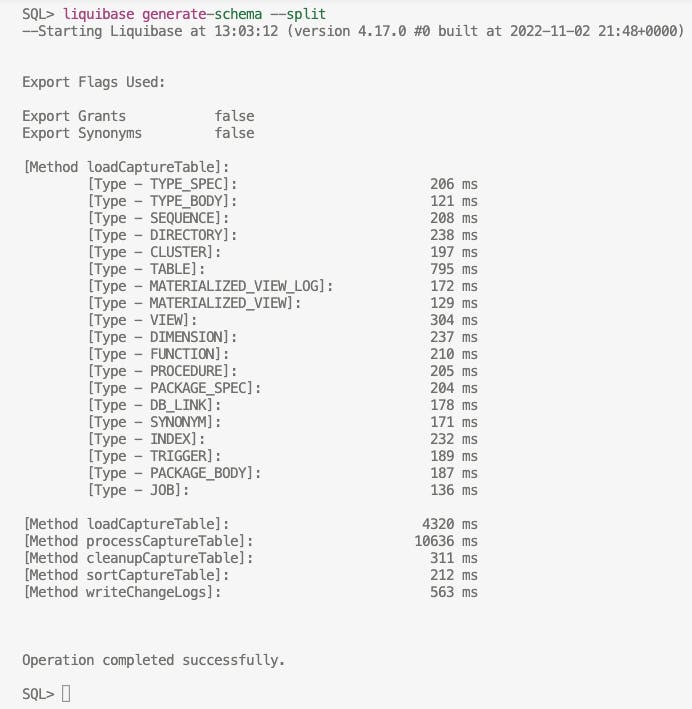
However, remember that, by default, SQLcl doesn’t export grants and synonyms.

If you want to include grants and synonyms, add the following parameter (or parameters) to your command:
liquibase generate-schema --split --grants --synonyms
Now, let’s take a look at what files and folders were generated automatically:
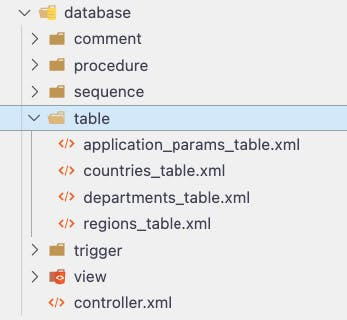
In subdirectories like comment, procedure, table etc., there are changelogs containing database objects in XML format.
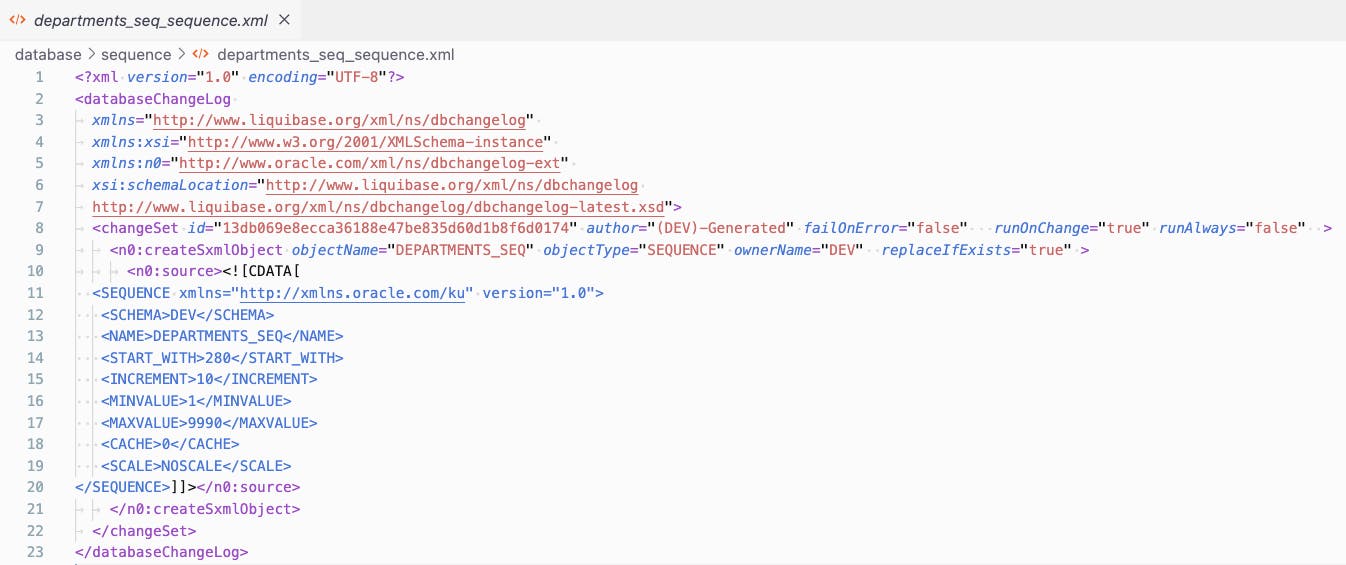
Of course, we all love SQL, so you don’t even need to open these XML files. There is also another XML file generated automatically – controller.xml.
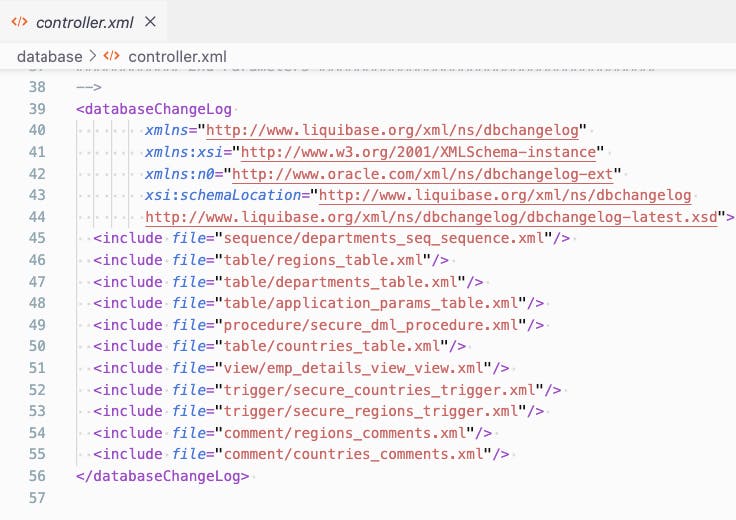
SQLcl Liquibase treats it as a ledger, a root of all changes. That file holds information in which order objects should be executed.
However, as I’ve mentioned, you don’t actually need to open it or change anything. Liquibase will handle all execution orders for you. Isn’t it great?
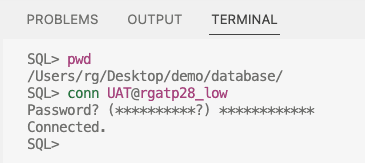
Start by connecting to UAT with SQLcl (there are no objects on UAT yet).
Run the Liquibase update command:
liquibase update --changelog-file controller.xml
This command will execute all objects on the UAT schema in the order specified in the controller.xml file.
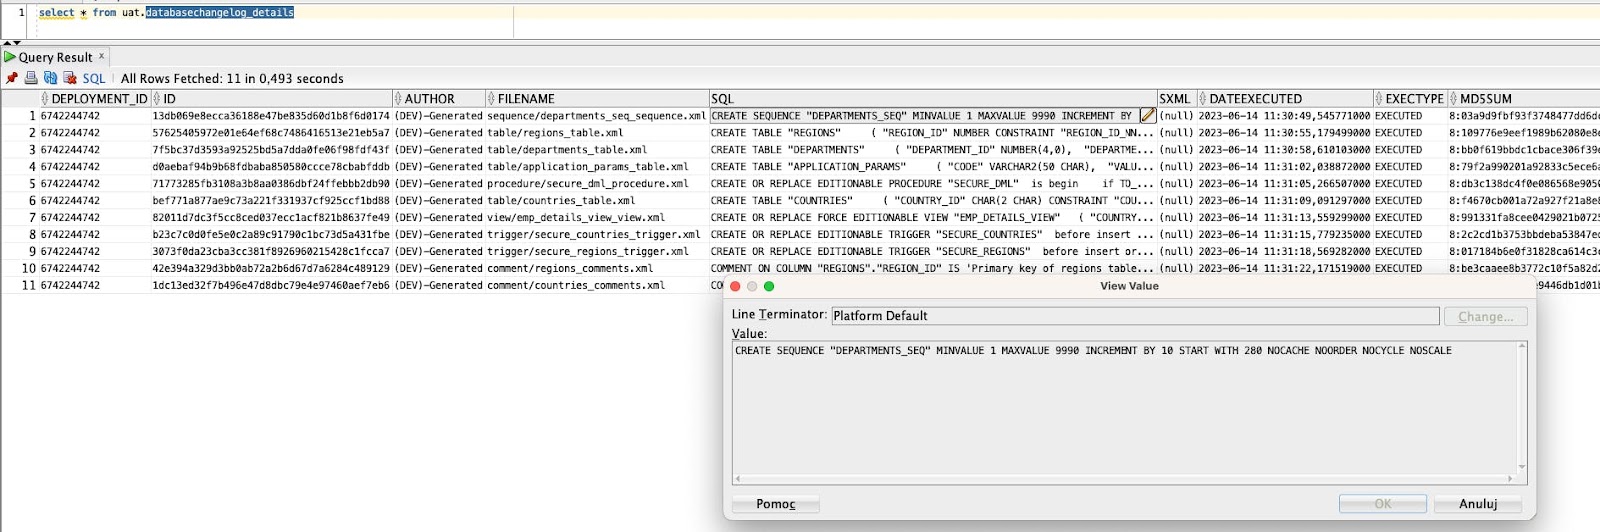
And that’s pretty much it. All objects were moved from DEV to UAT. Additionally, Liquibase created a few objects to store information about which changes were executed to the database. For example, you can check the databasechangelog_details view to see what was deployed and when. Moreover, you also have the exact SQL that was executed.
If you’re using Oracle OCI, you can also preview your deployments using Oracle Database Actions (remember to REST enable your user first!). Also, if you don’t want to capture the entire schema, read this.

That’s it for today. Stay tuned for my future articles – for example, I plan to follow this up with a blog post about making DDL changes directly in the DEV database schema and moving only changed/new objects to UAT. If you’d like me to cover a specific feature of SQLcl Liquibase, drop me a line at rgrzegorczyk@pretius.com. Also, be sure to check out my other articles on the Pretius blog:


