
Yes, we can – and in this article, I’ll show you precisely how to integrate the Stripe system with an Oracle APEX application. To prepare such a solution, we will use the standard, built-in Oracle APEX functionalities and rely on the API documentation of the Stripe platform. To achieve the desired result, we’ll need to make a few steps:
Besides taking you through these steps, I’ll also share some useful tips and tricks you can use in such a project.
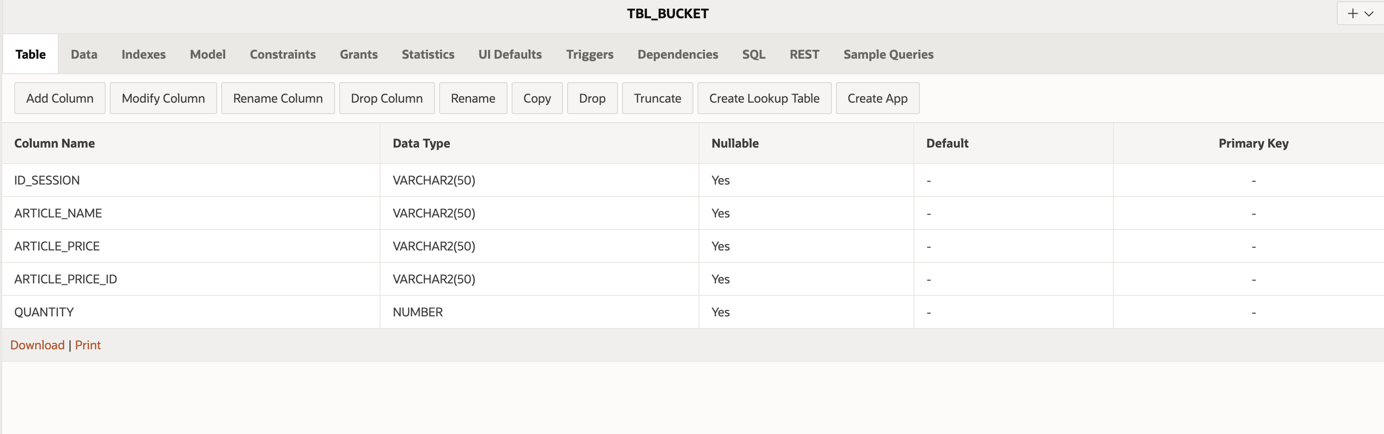
First, let’s look at the assets I’ll use in my example. The whole project is based on three tables: TBL_PRODUCTS, TBL_CUSTOMERS, and TBL_BUCKET.
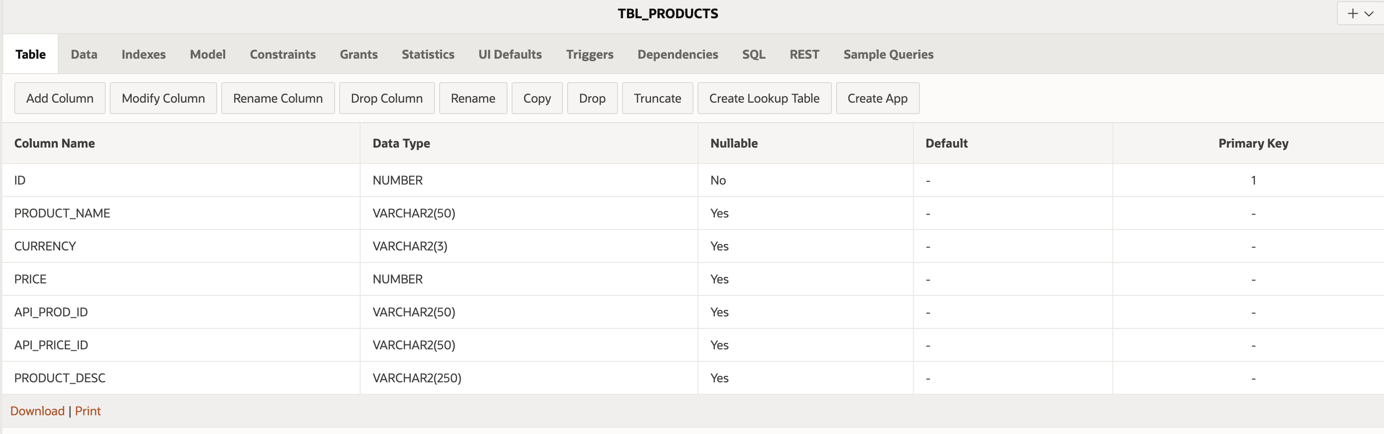

The structure of the Stripe system requires the creation of products and prices for them – separately – and then binding two objects together.
So, first of all, we need to prepare a process that will be responsible for adding an article (product) to the Stripe system. Then, we will add a price to that article in the Stripe system, and in the last step we will save this data along with the new article in the local database, linking it together.
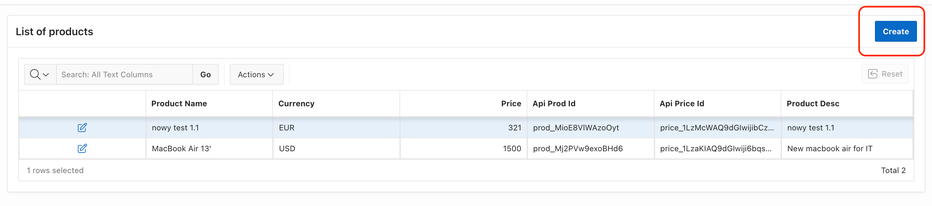
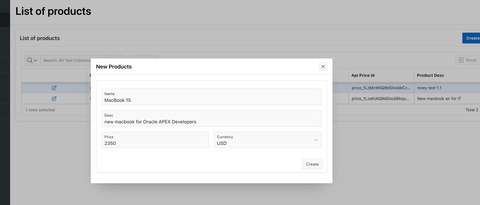
To add a new product, a new “create” process needs to be added to the system. Its task will be to handle adding new products.
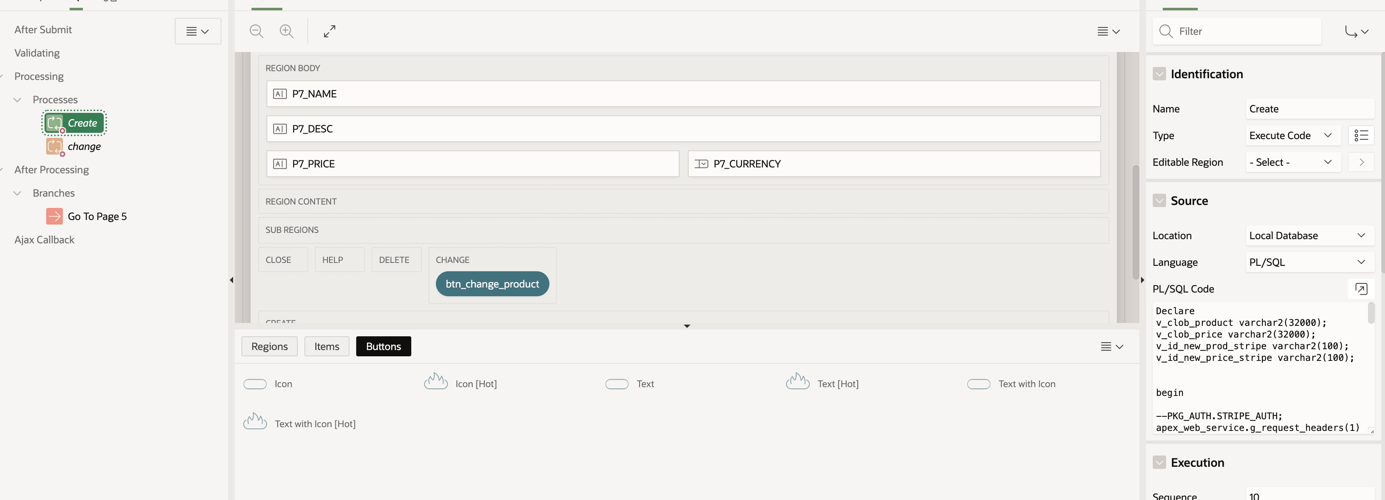
As part of that process, we first need to send the authorization to the Stripe server:
apex_web_service.g_request_headers(1).name := ‘Authorization’;
apex_web_service.g_request_headers(1).value := “Bearer sk_test_51KhDwDAQ9dGIwijiBM3f6S
Then, we have to prepare an API request that will be responsible for sending information to the Stripe server with a request to create a new product. It will return a response containing the product ID on the Stripe website.
v_clob_product := APEX_WEB_SERVICE.MAKE_REST_REQUEST(
    p_url => ‘https://api.stripe.com/v1/products’,
    p_http_method => ‘POST’,
    p_parm_name => apex_util.string_to_table(‘name:description’),
    p_parm_name => apex_util.string_to_table(:P7_NAME| |’:’| |:P7_DESC)
);
After sending the information, our task is to receive the answer and search for information about the new object ID in the Stripe service.
apex_json.parse(v_clob_product);
v_id_new_prod_stripe := apex_json.get_varchar2(p_path => ‘id’);
After saving the identifier in the variable, we can add the price for our product in the Stripe system. The process is similar to the one described above, but we can skip the authorization sent to the server in this session and go straight to sending the request:
v_clob_price := APEX_WEB_SERVICE.MAKE_REST_REQUEST(
    p_url => ‘https://api.stripe.com/v1/prices’
    p_http_method => ‘POST’
    p_parm_name => apex_util.string_to_table(‘unit_amount:currency:product’),
    p_parm_value => apex_util.string_to_table(:P7_PRICE*100| |’:’| |:P7_CURRENCY| |’:’| |v_id_new_prod_stripe)
);
In response to the above query to the Stripe server, we will receive information about the ID of the price newly added to the product. One important thing: when sending a request assuming a price, multiply its value by 100. To read the ID of a new price, you need to parse the response and save the value to a variable, which you then save in the local database.
apex_json.parse(v_clob_price);
v_id_new_price_stripe := apex_json.get_varchar2(p_path => ‘id’);

Insert into TBL_PRODUCTS (ID, PRODUCT_NAME, CURRENCY, PRICE, API_PROD_ID, API_PRICE_ID, PRODUCT_DESC)
VALUES (SEQ_PROD_ID.nextval, :P7_NAME, :P7_CURRENCY, :P7_PRICE,v_id_new_prod_stripe, v_id_new_price_stripe, :P7_DESC );


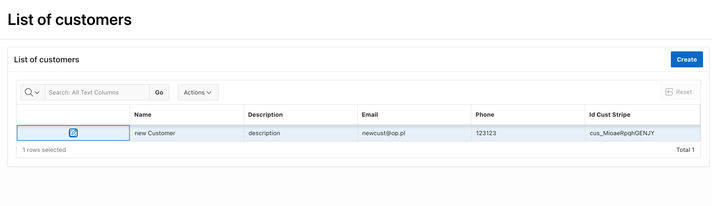
Integrating customers is done in the same way as adding products. First, you need to create a new page in APEX and add a process to it, which will be responsible for adding new customers in the Stripe system, and in local database.

The first step is to resend the authorization to the Stripe server, in the same way as when adding products.
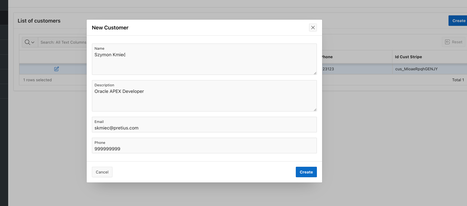
Then, using the process below, we will add a new customer to the Stripe system, read the identifier and save it in the local database.
v_clob_cust := APEX_WEB_SERVICE.MAKE_REST_REQUEST(
p_url => ‘https://api.stripe.com/v1/customers’,
p_http_method => ‘POST’,
p_parm_name => apex_util.string_to_table(‘description:email:name:phone’),
p_parm_value => apex_util.string_to_table(:P9_DESCRIPTION| |’:’| |:P9_EMAIL| |’:’| |:P9_NAME| |’:’| |:P9_PHONE)
);
apex_json.parse(v_clob_cust);
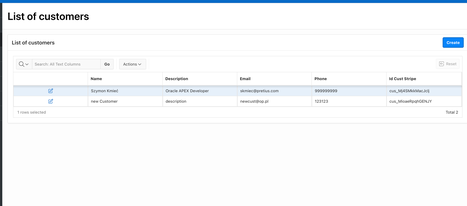
v_id_new_cust_stripe := apex_json.get_varchar2(p_path => ‘id’);
Insert into TBL_CUSTOMERS (NAME, DESCRIPTION, EMAIL, PHONE, ID_CUST_STRIPE)
VALUES(:P9_NAME, :P9_DESCRIPTION, :P9_EMAIL, :P9_PHONE, v_id_new_cust_stripe);
end;

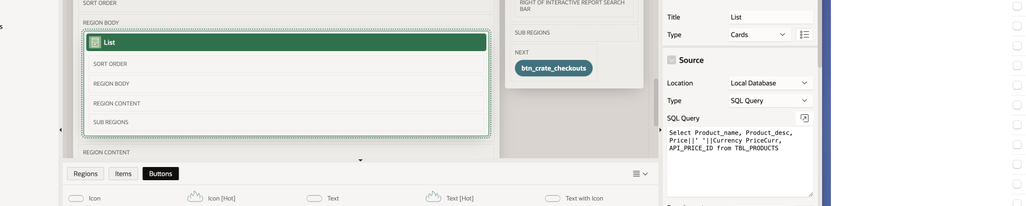
To add a new shopping session, it is necessary to create a new website similar to an online store. To create such a page I used the “CARD” control with the following configuration:
 Next, we have to add a process that will complete the said basket the user selected items from the list.
The last step in creating a payment session is generating a process that sends a request to the server. We’ll receive a link with the payment page in response.
I linked the above-mentioned process to the “PAY” button:
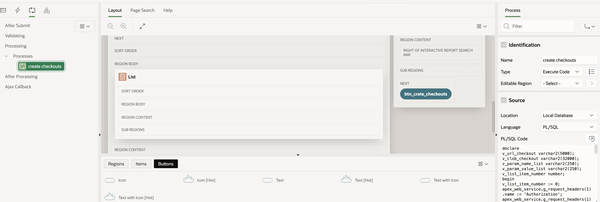

The process consists of five main steps:
If we have more than one product in the basket, we have to prepare a couple of variables for the names and prices of the parameters and for the values assigned to them:
v_clob_checkout varchar2(32000);

v_param_name_list varchar2(250);
For x in (Select ATRICLE_PRICE_ID, QUANTITY from TBL_BUCKER where ID_SESSION = :APP_SESSION)
loop
v_param_name_list := v_param_name_list| |’:line_items[‘| |v_list_item_number| |’][price]:line_items[‘| |v_list_item_number| |’] [quantity]’;
v_param_value_list := v_param_value_list| |’^’| |x.ARTICLE_PRICE_ID| |’^’| |x.QUANTITY;
v_list_item_number := v_list_item_number + 1;
end loop;
We need to prepare a request to the server. This is how you do it:
v_clob_checkout := APEX_WEB_SERVICE.MAKE_REST_REQUEST(

p_url => ‘https://api.stripe.com/v1/checkout/sessions’,

p_http_method => ‘POST’,

p_parm_name => apex_util.string_to_table(‘success_url:cancel_url:mode’| |v_param_name_list),

p_parm_value => apex_util.string_to_table(‘https:/apex.oracle.com/pls/apex/r/skmiec_pretius/stripe-integrati^https://apex.oracle.com/pls/apex/r/skmiec_pretius^paymanet’| |v_param_value_list, ‘^’)

);
When preparing such a request, we should also remember about parameters such as “Success_url” and “Cancel_url”. These are the addresses of the pages to which you will be redirected in the event of either a positive payment, or resignation.
In response for that request, we’ll receive the URL address of the payment page.
apex_json.parse(v_clob_checkout);

v_url_checkout := apex_json.get_varchar2(p_path => ‘url’);
The last step is opening our payment page.
apex_util.redirect_url (  p_url => v_url_checkout);

end;
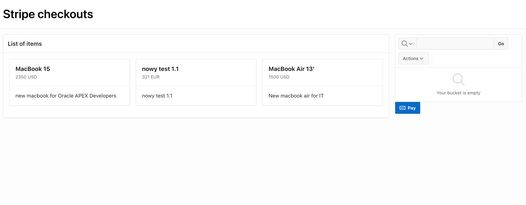
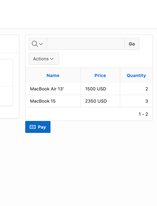
Here’s how the payment process looks for the end-user.

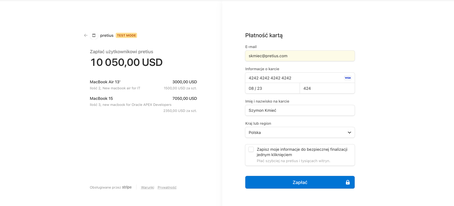
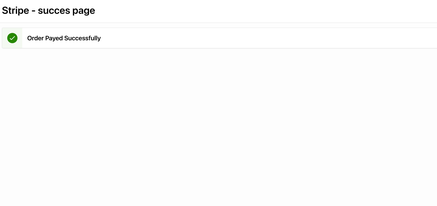
After selecting the “pay” button (“Zapłać”, to be precise, as Stripe recognizes that I’m in Poland, and shows me the Polish interface) , the system will redirect the user to the “Success_url” page and clean the basket.
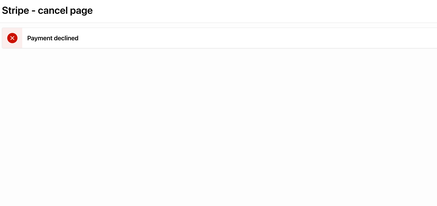
In the event of non-payment, the user will be redirected to the “Cancel_url” page and the basket will remain unchanged.
Before I end this article, I’d like to share a few pieces of advice, and simple tricks I often use in my day-to-day work.
And that’s it. I hope you’ve learned a little bit about integrating Stripe with Oracle APEX – as you can see, it’s quite easy to do. If you remember a few simple rules and follow the steps outlined in this article, you can have a fully functional payment system in your project in no time. That’s what low-code is all about, isn’t it?
Also, if you’re interested in Oracle APEX, check out some of the other articles on our blog:


