
Note this blog builds on concepts found in the fantastic OCI 2024 Generative AI Professional Certification and Course. I added additional steps to resolve issues I encountered following the guides.
The course describes how to use IDEs to build LLM applications through their GitHub Repository. This article explains the configuration of PyCharm with examples, whilst my other publication explains how to set up Jupyter notebooks.
Note on WSL: I had to rework this article because I wanted to use PyCharm on my WSL since I already had Python set up there for Web Scraping. However, it became apparent that PyCharm will only configure a WSL Interpreter when using the PyCharm Professional version. Therefore, this article is for PyCharm Community Edition.
Note on OCI Regions: According to the documentation, at the time of writing, Text Generational Models are only available in the US Midwest (Chicago). The code examples in this article will only work in the US Midwest (Chicago). My region is Germany Central (Frankfurt) and only supports Chat. I have, however, adapted the scripts somewhat to Chat Models (see the final section). If you want to read more about this, I recommend reading this discussion.
This guide is for Windows, you’ll need to adapt this for a different OS.
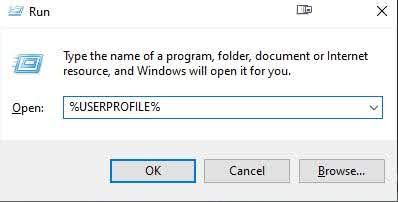
1. Press Windows Key + R and type %USERPROFILE%
2. Create a new folder named .oci
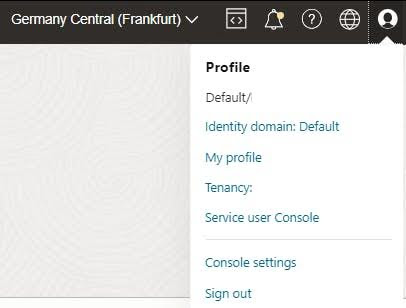
3. In OCI, Click Profile > My Profile
4. Click API Keys > Add API Key > Download API Key
5. Don’t touch anything in OCI yet
6. Copy the file to the %USERPROFILE%\.oci folder you’ve just created
7. Back in OCI, click Add
8. Don’t touch anything in OCI yet. Keep the window open
9. Copy the info from OCI to the clipboard
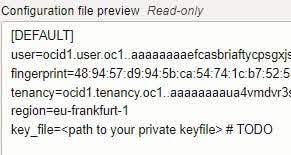
10. Save the contents of the clipboard to a new file called %USERPROFILE%\.oci\config
11. Change the last line to (change as necessary):
key_file=c:\full\path\to\folder\.oci\oci_api_key.pem
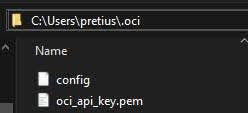
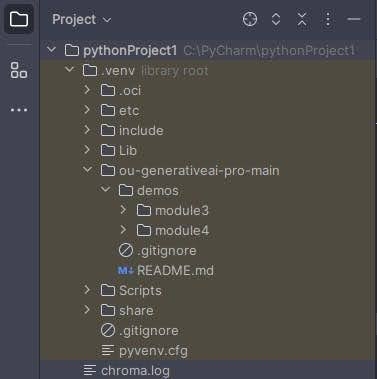
My folder looks like this:
1. Download and install Visual C++ Build tools
2. Modify the installation by selecting this workload:

3. Install Python. In Windows, drop into a command line (press the Windows key and type cmd) the then type:
python
4. Download & Install PyCharm Community Edition
5. Run PyCharm
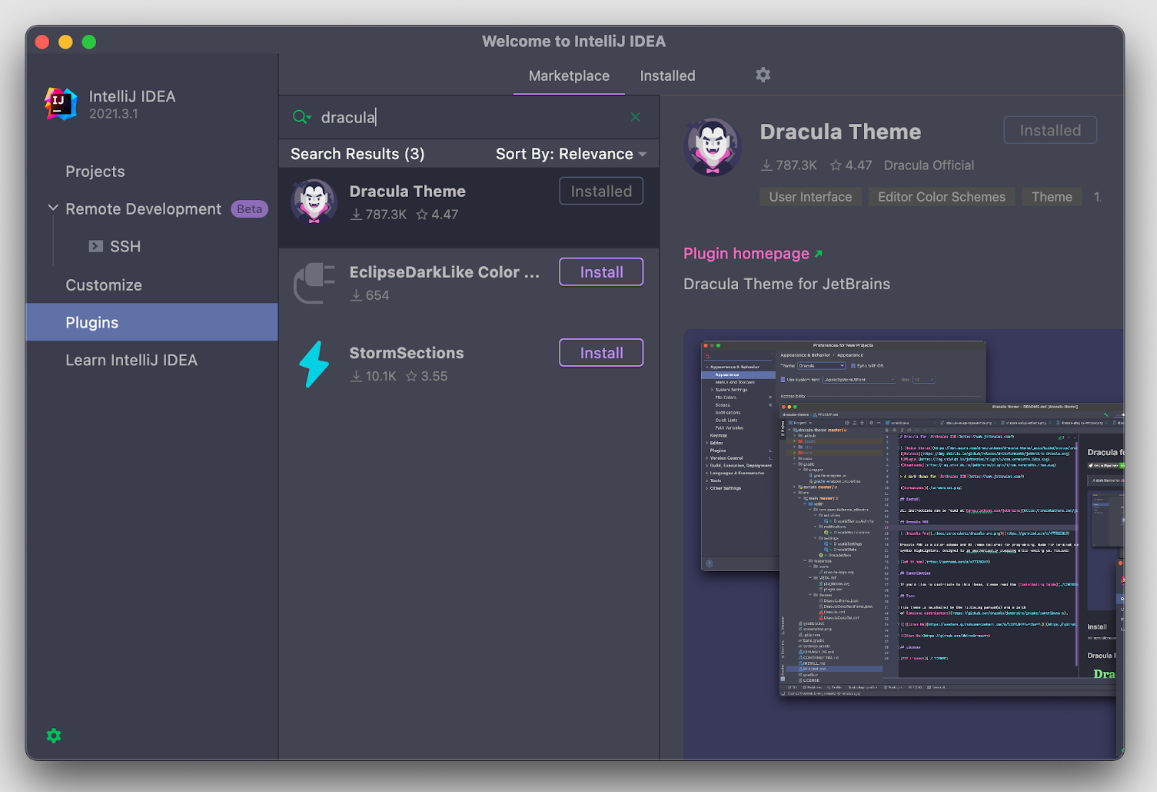
6. Optional/Recommended: Go to Plugin Marketplace, search Dracula, and click Install to install the Dracula theme (because it’s easy to work with and also really cool!)
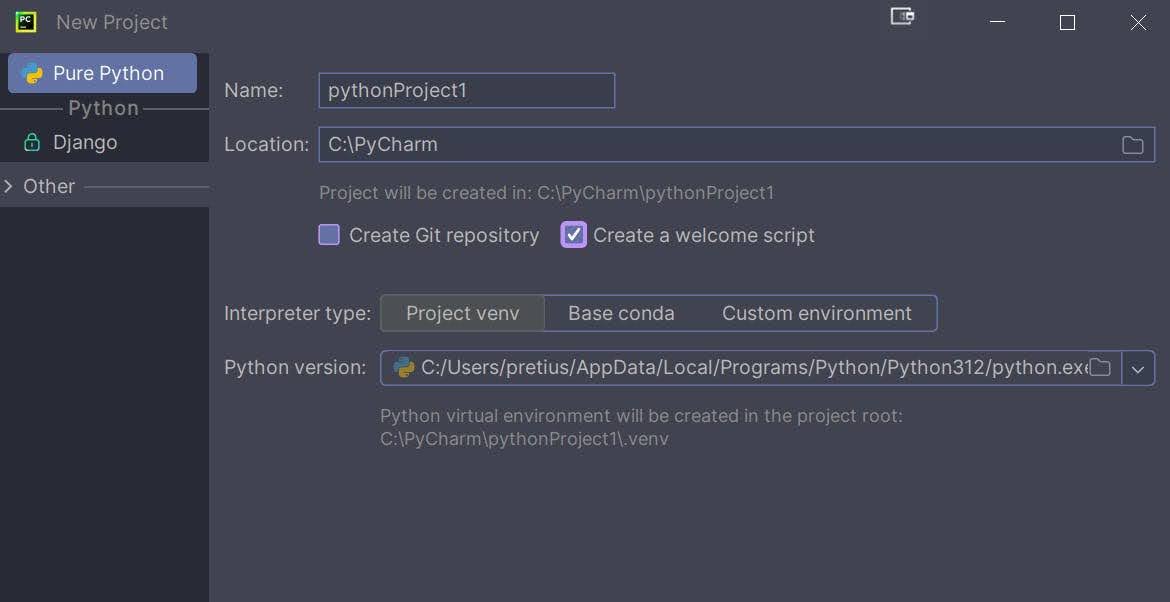
7. Create a new Project. You can tick Create a welcome script
8. Test Python by running the main.py script using the green play/run button in the top middle of the picture. It will say Hi PyCharm in the output window

9. Next to the run button, it says main. Change this to Current File
![]()
10. Click Terminal
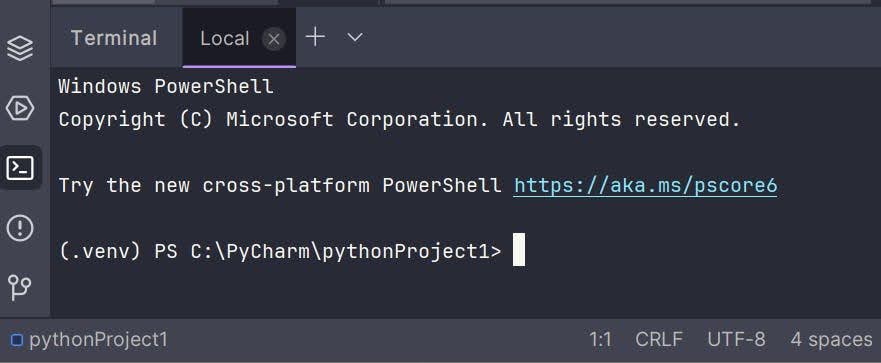
11. Paste in the following to install the dependencies in the terminal box:
pip install oci
pip install oracle-ads
pip install langchain
pip install chromadb
pip install faiss-cpu
pip install streamlit
pip install python-multipart
pip install pydantic
pip install pypdf
# Matts Additions
pip install langchain_community
You will now test the OCI package which you have just installed.
1. Create a file in your .venv folder called test-oci.py and paste in the following:
import oci

# Load the default configuration
config = oci.config.from_file()

# Initialize the IdentityClient with the configuration
identity = oci.identity.IdentityClient(config)

# Fetch and print user details to verify the connection
user = identity.get_user(config["user"]).data
print("User details: ", user)
2. Run the file using Shif+F10. If it works, you should see some JSON like this:
  "inactive_status": null,
  "is_mfa_activated": true,
  "last_successful_login_time": "2024-06-14T08:54:58.148000+00:00",
  "lifecycle_state": "ACTIVE",
  "name": "mmulvaney@leedsunited.com",
  "previous_successful_login_time": null,
  "time_created": "2022-11-01T14:50:28.449000+00:00"
}

Process finished with exit code 0
1. Download the repository as a .zip file – click this link
2. Unzip the contents to your .venv folder
3. Right-click the project and choose Reload from Disk
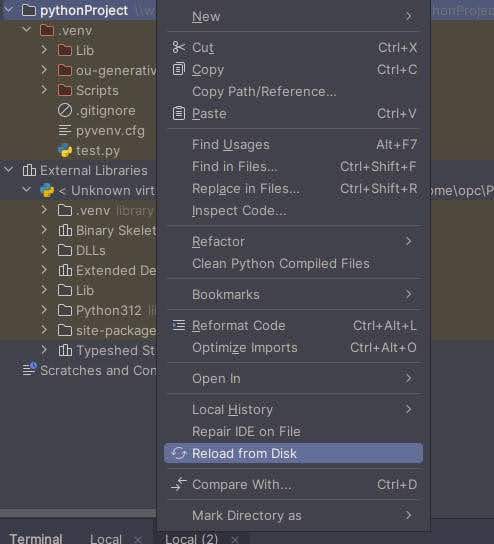
It should look like this:
4. Download some PDFs. I’m using a simple PDF like this (Yes, I do own all these consoles)

5. Add them to the new pdf-docs folder, which should be a sub-folder of module4

6. Open demo-chroma-create.py
7. Change the URL (Chicago, Frankfurt or other) and the Compartment ID

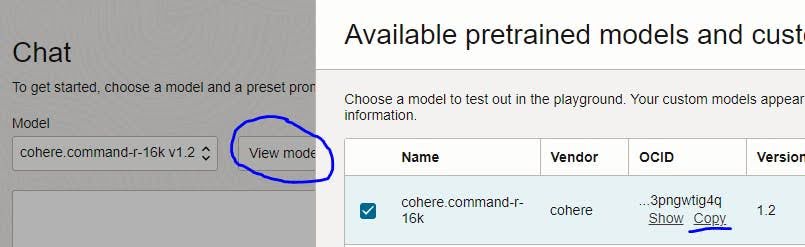
If you don’t know how to obtain the Compartment, it should be visible in Playground > View Code > Python
8. Run the file and check you have a non-zero number of documents loaded into chromadb

Note: You get this warning because, as of Chroma version 0.4.x, documents are automatically persisted, and the manual persist() method is deprecated. Therefore you can remove the persist() code or ignore this.
9. Run the Chroma server:
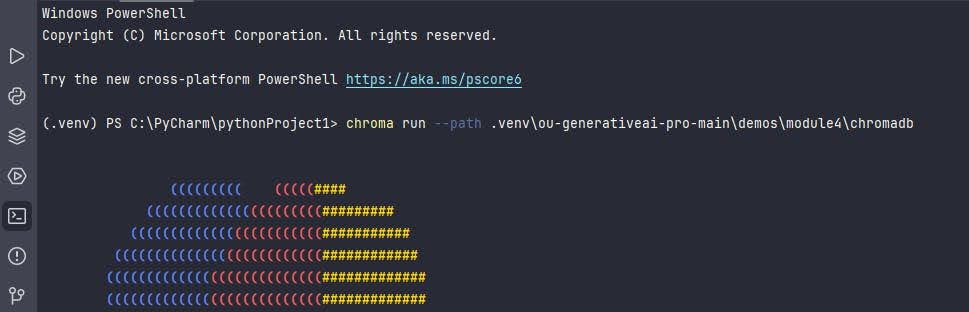
chroma run --path .venv\ou-generativeai-pro-main\demos\module4\chromadb
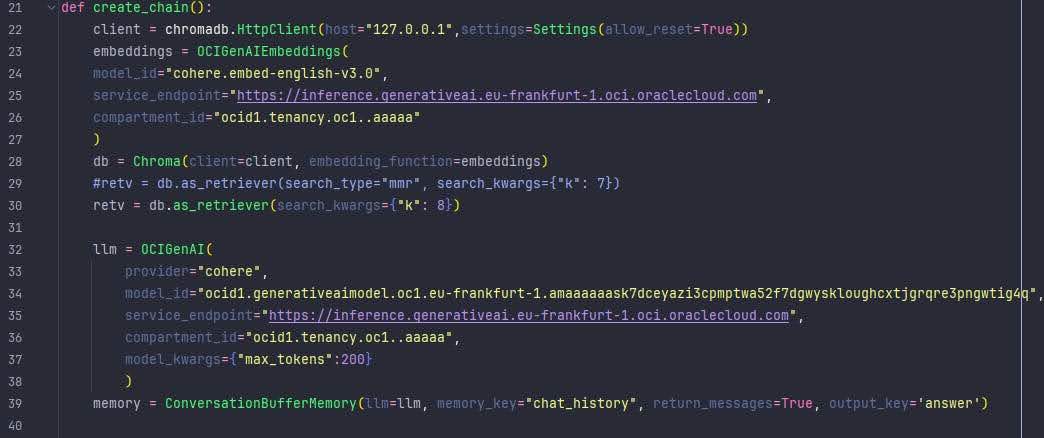
10. Open demo-ou-chatbot-chroma-final.py in PyCharm
11. Change the two occurrences of URL (Chicago, Frankfurt or other) and the Compartment ID
12. Open another Terminal (use the + button) – i.e., keep the Chroma server running
13. Start the chatbot and hit Enter when it asks for your email
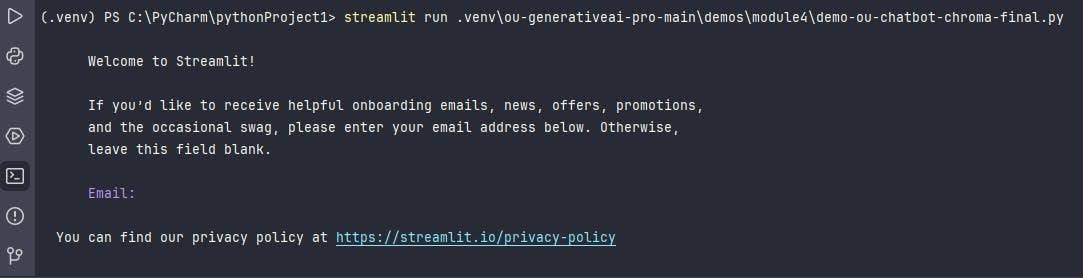
14. Use this code to start your Chatbot
streamlit run .venv\ou-generativeai-pro-main\demos\module4\demo-ou-chatbot-chroma-final.py

15. Ask it…
What consoles does Matt Mulvaney own?
16. ENJOY!
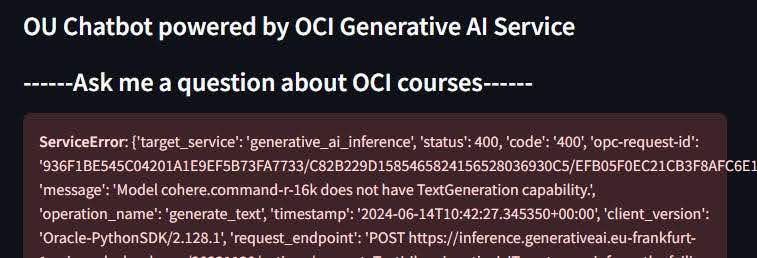
17. If you see this error… then Text Generation is not available in your Model. Therefore read the next section on Streamlit Chatting
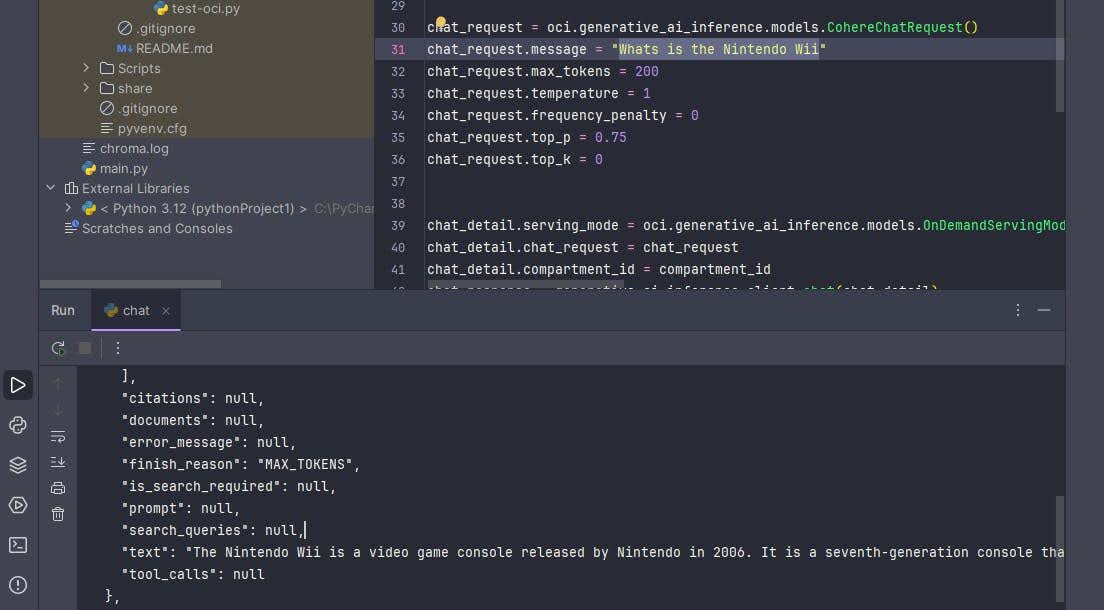
Note: You can also run examples from the Playground. Here’s an example of me asking what Nintendo Wii is:
Note: Only do this if you hit the error above and want to use Streamlit with the Chatting Service in Frankfurt or Chicago
Note: this code sample does not use memory for conversation history or Chroma for RAG. You are very welcome to provide improvements to this code (just drop me a line at mmulvaney@pretius.com), and I will update this article.
1. Create a file in your .venv folder called test-oci.py
2. Paste in the following. You have to change the:
import streamlit as st
import oci
# Step 1: Initialize OCI Generative AI Inference Client
def create_chain():
config = oci.config.from_file('~/.oci/config', 'DEFAULT')
endpoint = "https://inference.generativeai.eu-frankfurt-1.oci.oraclecloud.com"
generative_ai_inference_client = oci.generative_ai_inference.GenerativeAiInferenceClient(
config=config,
service_endpoint=endpoint,
retry_strategy=oci.retry.NoneRetryStrategy(),
timeout=(10, 240)
)
def invoke_chat(user_message):
chat_request = oci.generative_ai_inference.models.CohereChatRequest()
chat_request.message = user_message
chat_request.max_tokens = 600
chat_request.temperature = 1
chat_request.frequency_penalty = 0
chat_request.top_p = 0.75
chat_request.top_k = 0
chat_detail = oci.generative_ai_inference.models.ChatDetails()
chat_detail.serving_mode = oci.generative_ai_inference.models.OnDemandServingMode(
model_id="[MODEL ID]"
)
chat_detail.chat_request = chat_request
chat_detail.compartment_id = "[COMPARTMENT]"
chat_response = generative_ai_inference_client.chat(chat_detail)
return chat_response # Return the whole chat_response object
return invoke_chat
# Step 2: Define Streamlit UI
if __name__ == "__main__":
chain = create_chain()
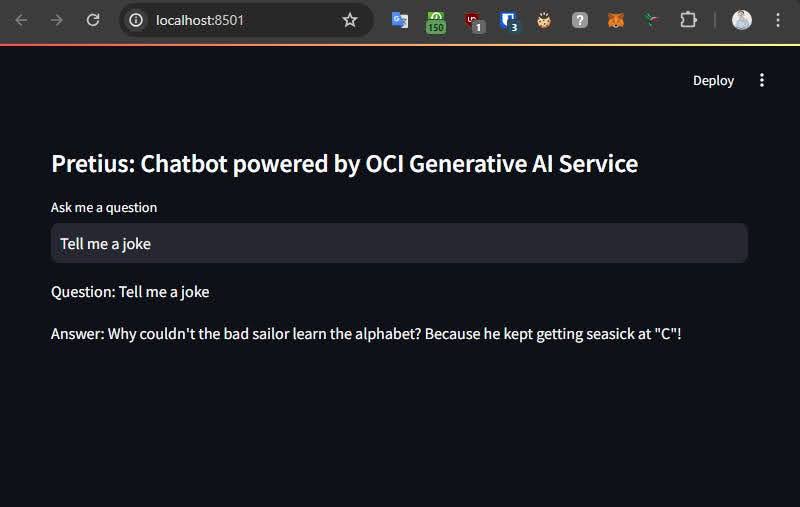
st.subheader("Pretius: Chatbot powered by OCI Generative AI Service")
user_input = st.text_input("Ask me a question")
if user_input:
bot_response = chain(user_input)
if bot_response.status == 200:
# Ensure bot_response is correctly accessed based on actual structure
chat_response = bot_response.data.chat_response # Assuming chat_response is within data attribute
if chat_response:
st.write("Question: ", user_input)
st.write("Answer: ", chat_response.text) # Adjust based on actual structure
else:
st.write("Unexpected response format from OCI Generative AI Service.")
else:
st.write("Error communicating with OCI Generative AI Service.")
3. Start the Chatbot
streamlit run .venv\ou-generativeai-pro-main\demos\module4\demo-pretius-working.py
4. Enjoy your Chatbot
To Deploy the Chatbot, read the OU ChatBot Setup-V1.pdf document found in the module4 folder.
And that’s about it for this article. If you run into any questions, you can contact me on X (@Matt_Mulvaney) or write me at mmulvaney@pretius.com. Also, if you’re interested in AI-related topics, there are several publications about this subject on the Pretius blog, so check them out:


