

One of our clients chose the Azure AD B2C solution when building a new platform for their contractors. It seemed a natural choice, considering that the company was already using the Microsoft Azure cloud.
However, during the development of the new platform, several problems with the Azure AD B2C service came to light. Some were so severe that before the production launch, they decided to switch to another IAM solution (while still using the Azure cloud) that provides authentication and management of external users. Keycloak was the technology chosen in this scenario, and Pretius was responsible for implementing it.
In this article, we’ll describe the problems that might cause you to make a similar decision. We’ll also show you the steps required to conduct such a migration successfully.
The company identified six main problems caused by Azure AD B2C. Let’s look at each of them in more detail.
The main requirement for the new platform was to store and manage information about permissions in an external, dedicated service. During development, it turned out that Azure AD B2C doesn’t allow for calling an external service when obtaining an application token. Therefore, information about the permissions had to be stored in the configuration of a given application registered on the Azure AD B2C side.
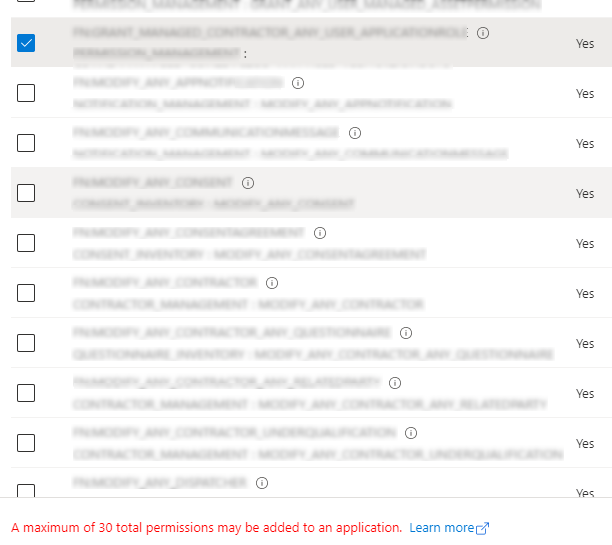
The above-mentioned solution for the first problem – maintaining permissions in the registered application on the Azure AD B2C side – caused another issue. Microsoft’s cloud platform imposed a limit on the number of custom roles in the configuration per application – they could define no more than 30 such roles/permissions.
The business requirements of the system specified that each new external user needs to accept the consents required to use the service during the registration process (e.g., regulations, privacy policy). The configuration of all consents and information about which of them the user has given are stored in an external dedicated service.
With Azure AD B2C, it wasn’t possible to present consents and download information about consents granted on the registration screen.
While Azure AD B2C did allow the system to retrieve permissions from an external dedicated service during user login, the built-in tools were unable to parse the information received from the external service in the JSON format. It forced a change in the previously assumed token permissions format, along with changes to the API in the external service.
The login and registration screens that are part of Azure AD B2C are problematic and have their limitations when it comes to making visual changes. As a result, it was not possible to style the screens correctly per the designed mockups.
We used the MSAL for the Angular library so that we didn’t need to implement all flows manually. However, this, in turn, meant we were only able to configure one custom Azure AD B2C policy in a given application. Additionally, there were problems with running it on the current version of Angular, and the client’s specific requirement caused us to resort to a “slight hack” – overwriting the library using a patch package – since the library wasn’t flexible enough for our purposes.
Based on the abovementioned problems, the company had the following requirements for a new IAM solution that would replace Azure AD B2C:
Looking at all the requirements and after thorough research, we chose Keycloak, which met most of these requirements out of the box and allowed us to realize the rest via a custom plugin.
There are two main paths you can take to use Keycloak together with Azure AD. You can specify Azure AD as the Identity Provider or build most of the authentication and authorization process on Keycloak and connect Azure AD as a User federation. Let’s look at both options.
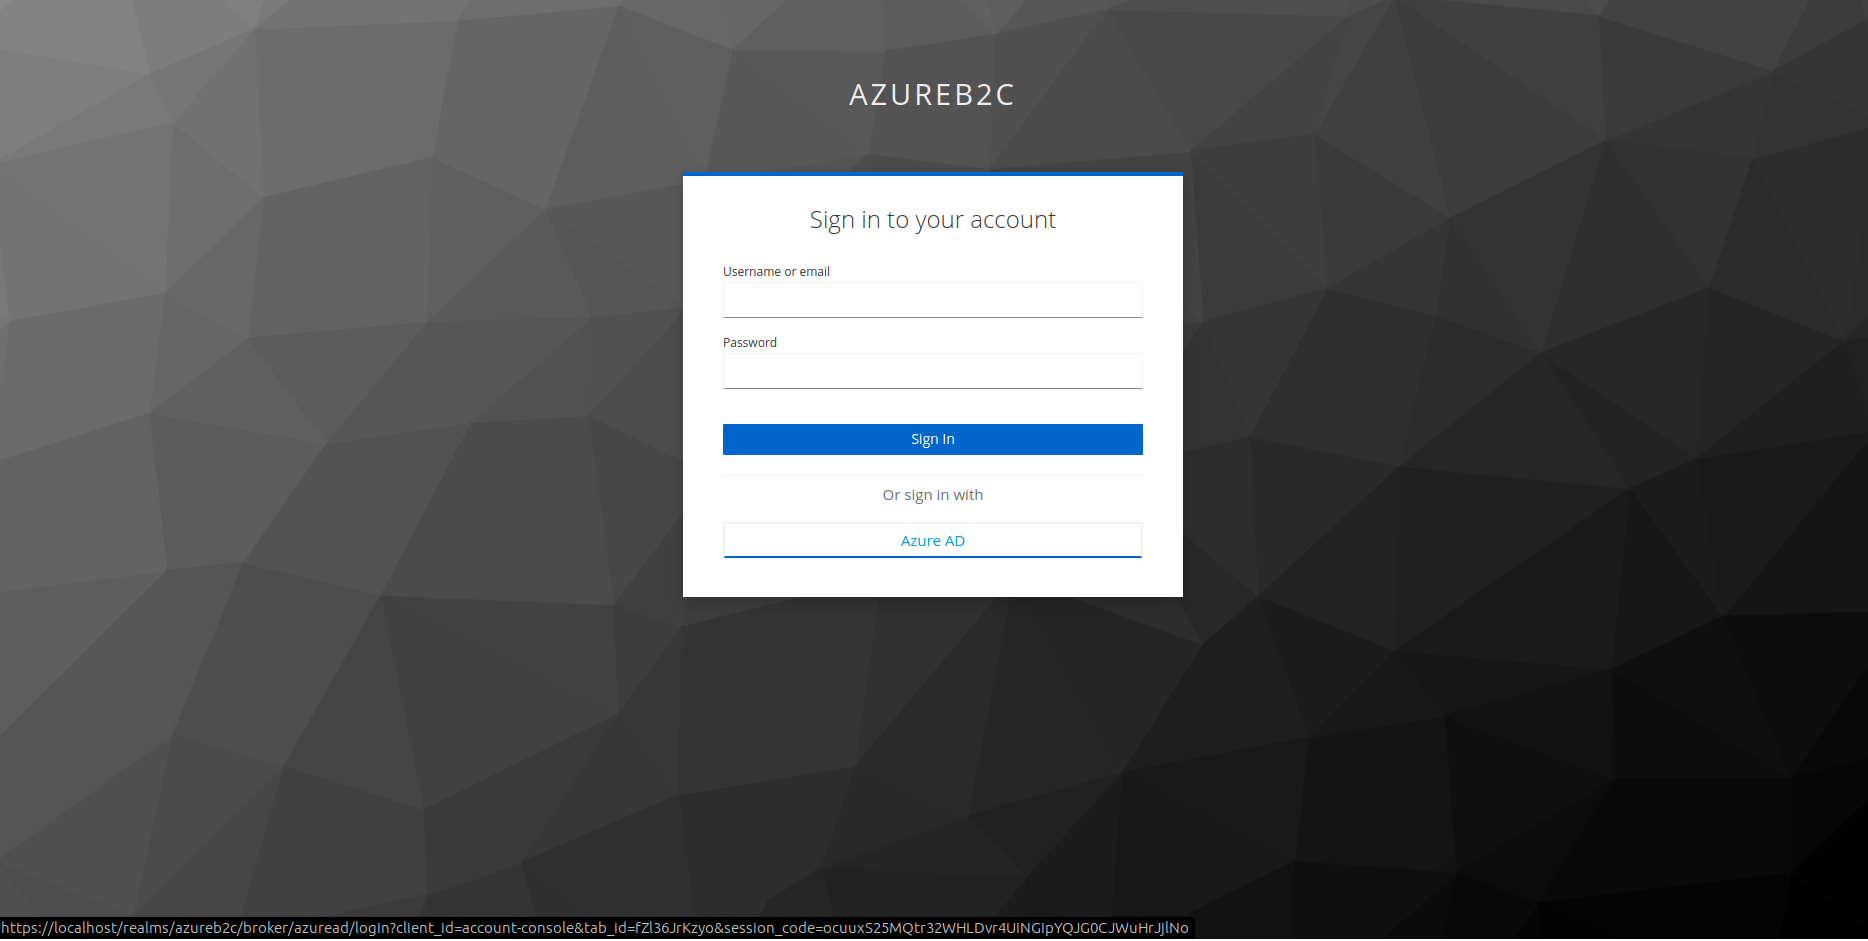
With this scenario, an additional “Or sign in with” information will be displayed on the login screen, along with a button that will redirect users to the login page of the configured provider where authentication takes place. To configure the Keycloak service, go through the following steps:
1. Log in to the administration panel in Keycloak and select the Identity providers tab
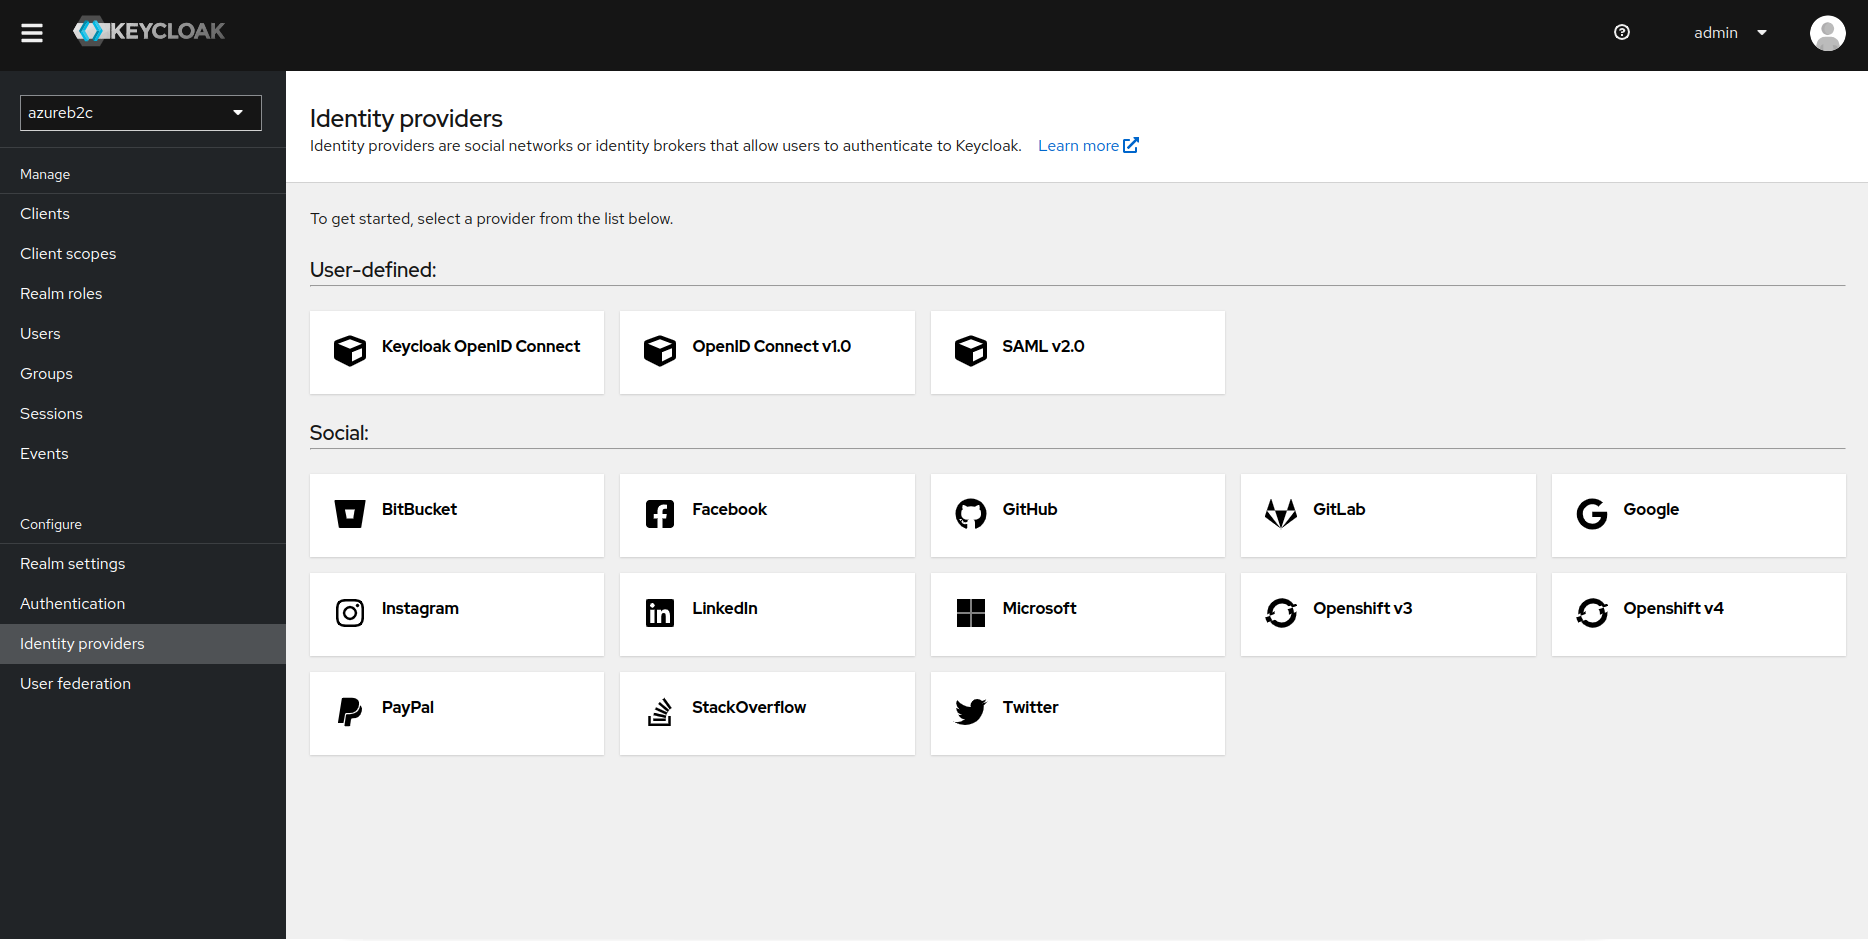
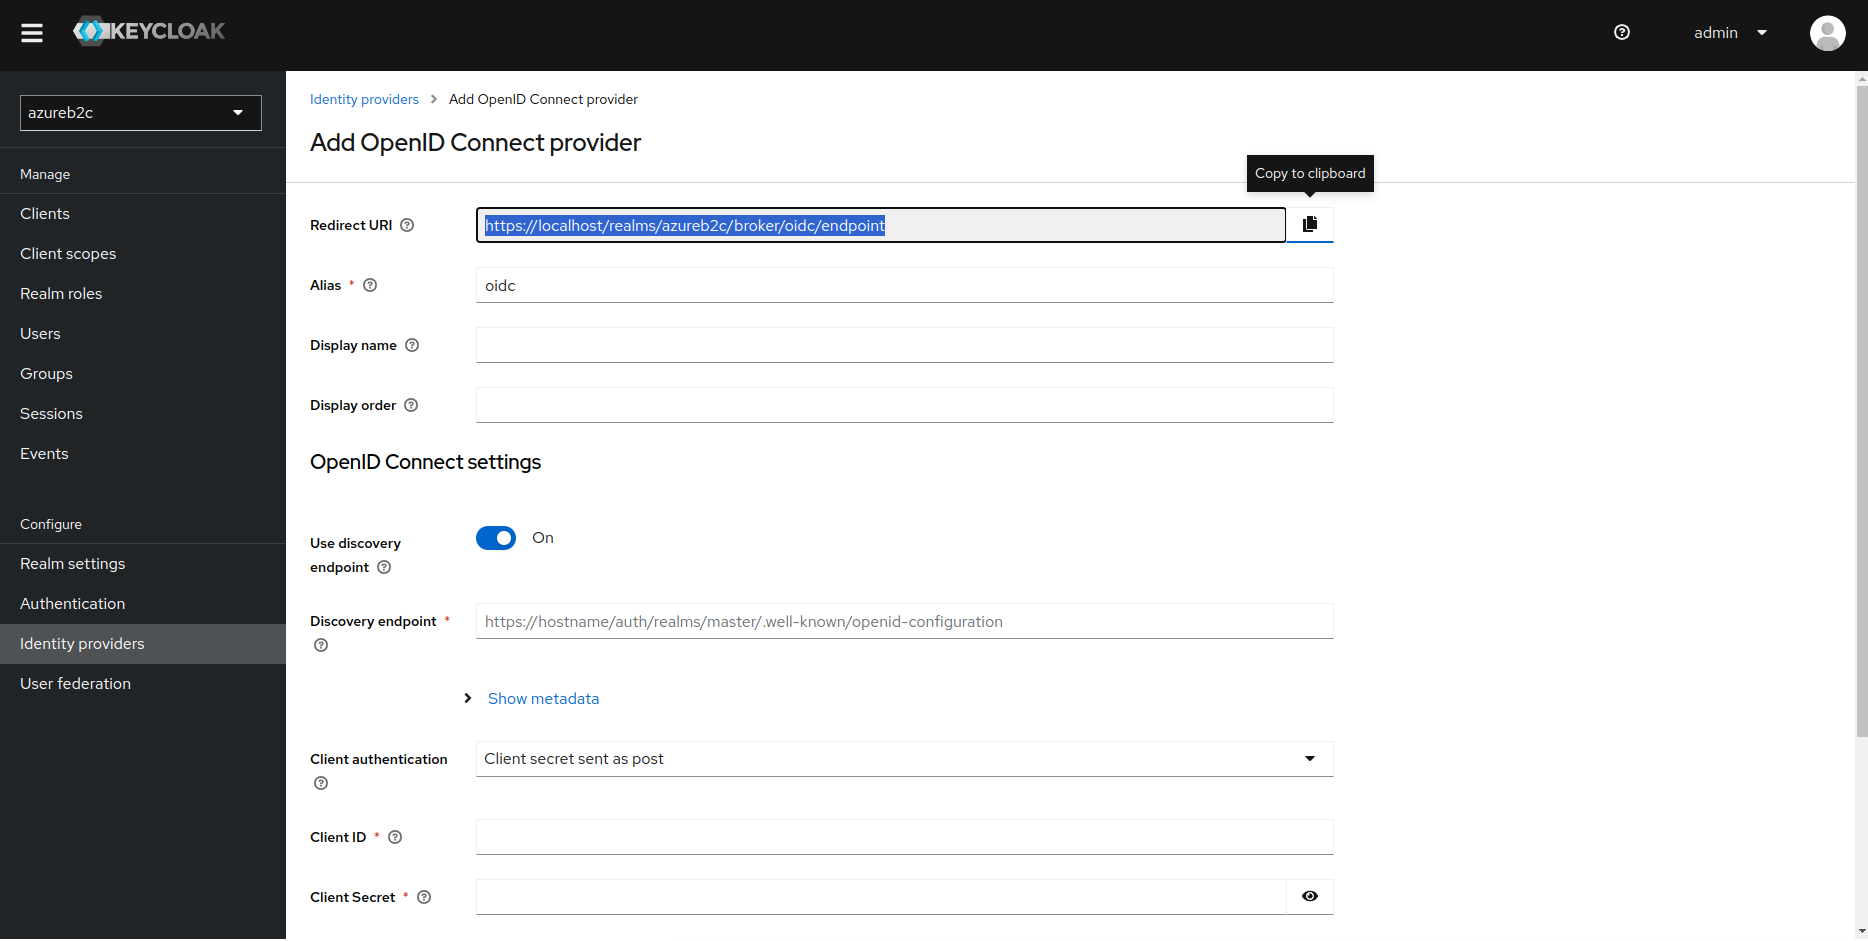
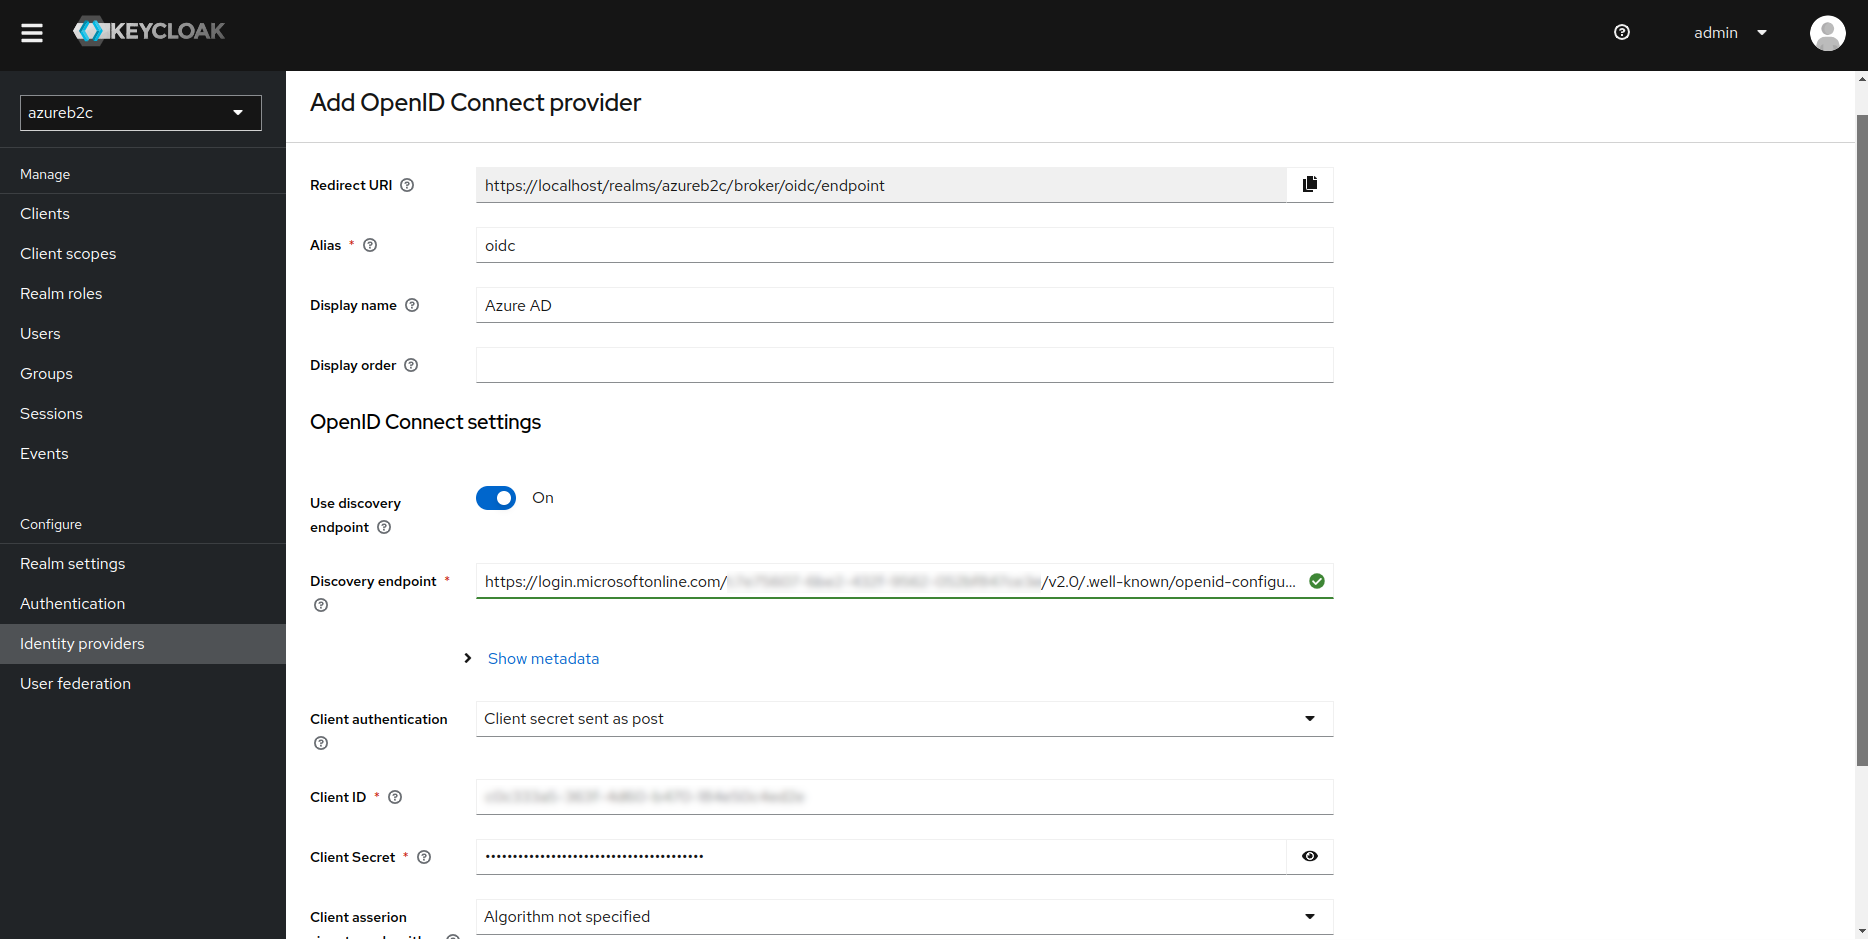
2. Add a new provider via OpenID Connect v1.0
3. Copy the value from the grayed-out Redirect URI field
4. Log in to the Azure portal, go to Azure Active Directory → App registrations → New registration
5. Enter the name and type of supported account (single, multi-tenant)
6. In the Redirect URI (optional) section, select Web as the platform, and in the value field, paste the Redirect URI previously copied from Keycloak (point 3)

7. After registering the new application, you will land on the Overview tab. Copy the Application (client) ID, which you can see here

8. While on the Overview tab, select the Endpoints option and copy the value for OpenID Connect metadata document

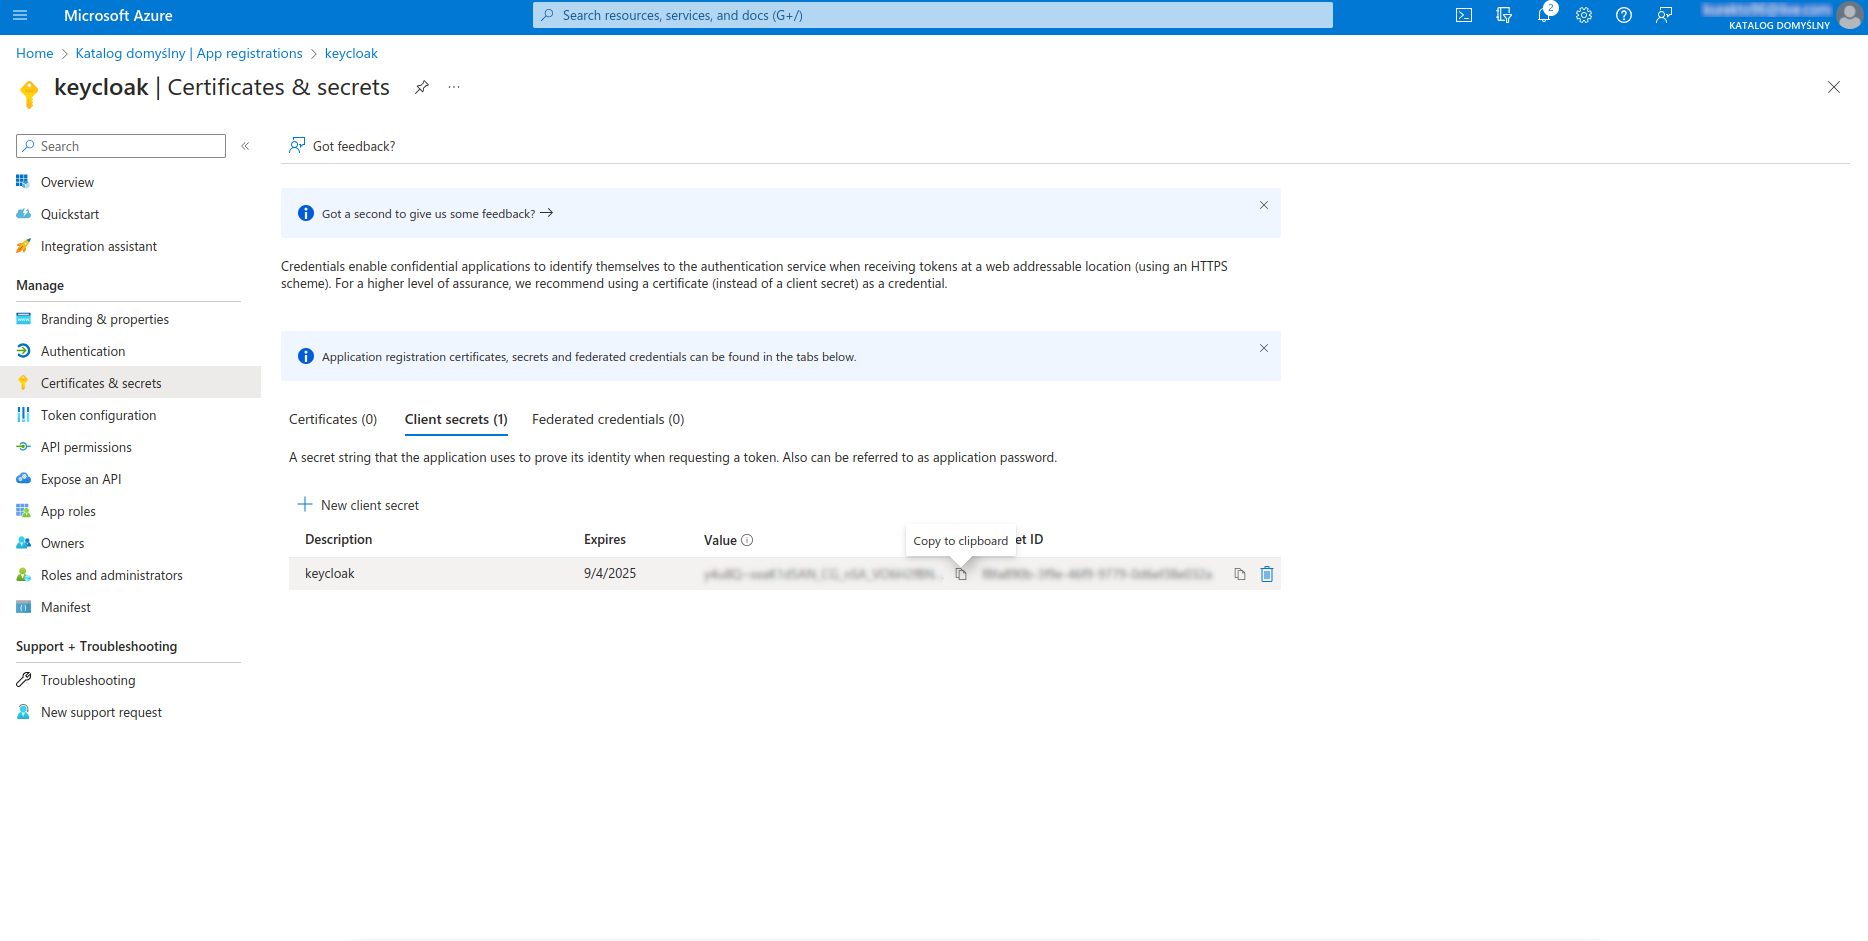
9. Go to Certificates & secrets → New client secret. Enter the description and expiration time of the secret
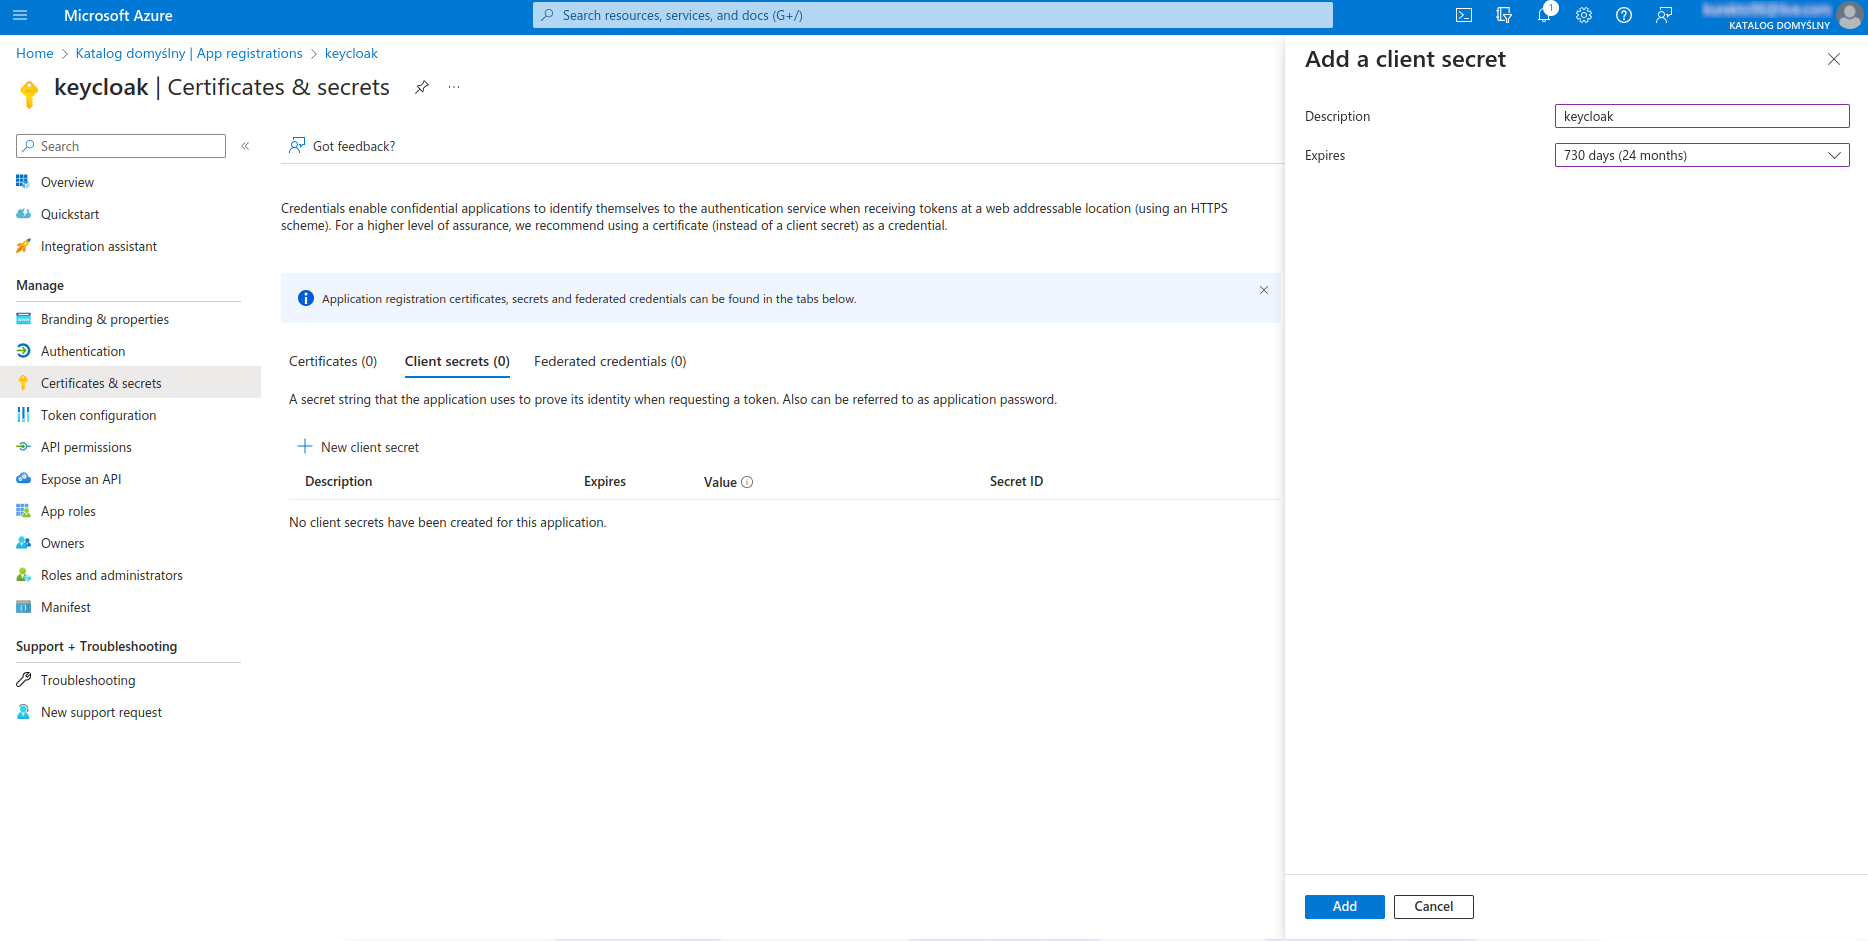
10. After adding a secret, you must copy its generated value. After re-entering, you won’t be able to get it back!
11. Go back to the admin panel in Keycloak and continue completing the configuration, then save.
12. Go to the login screen and select the option to log in using Azure AD
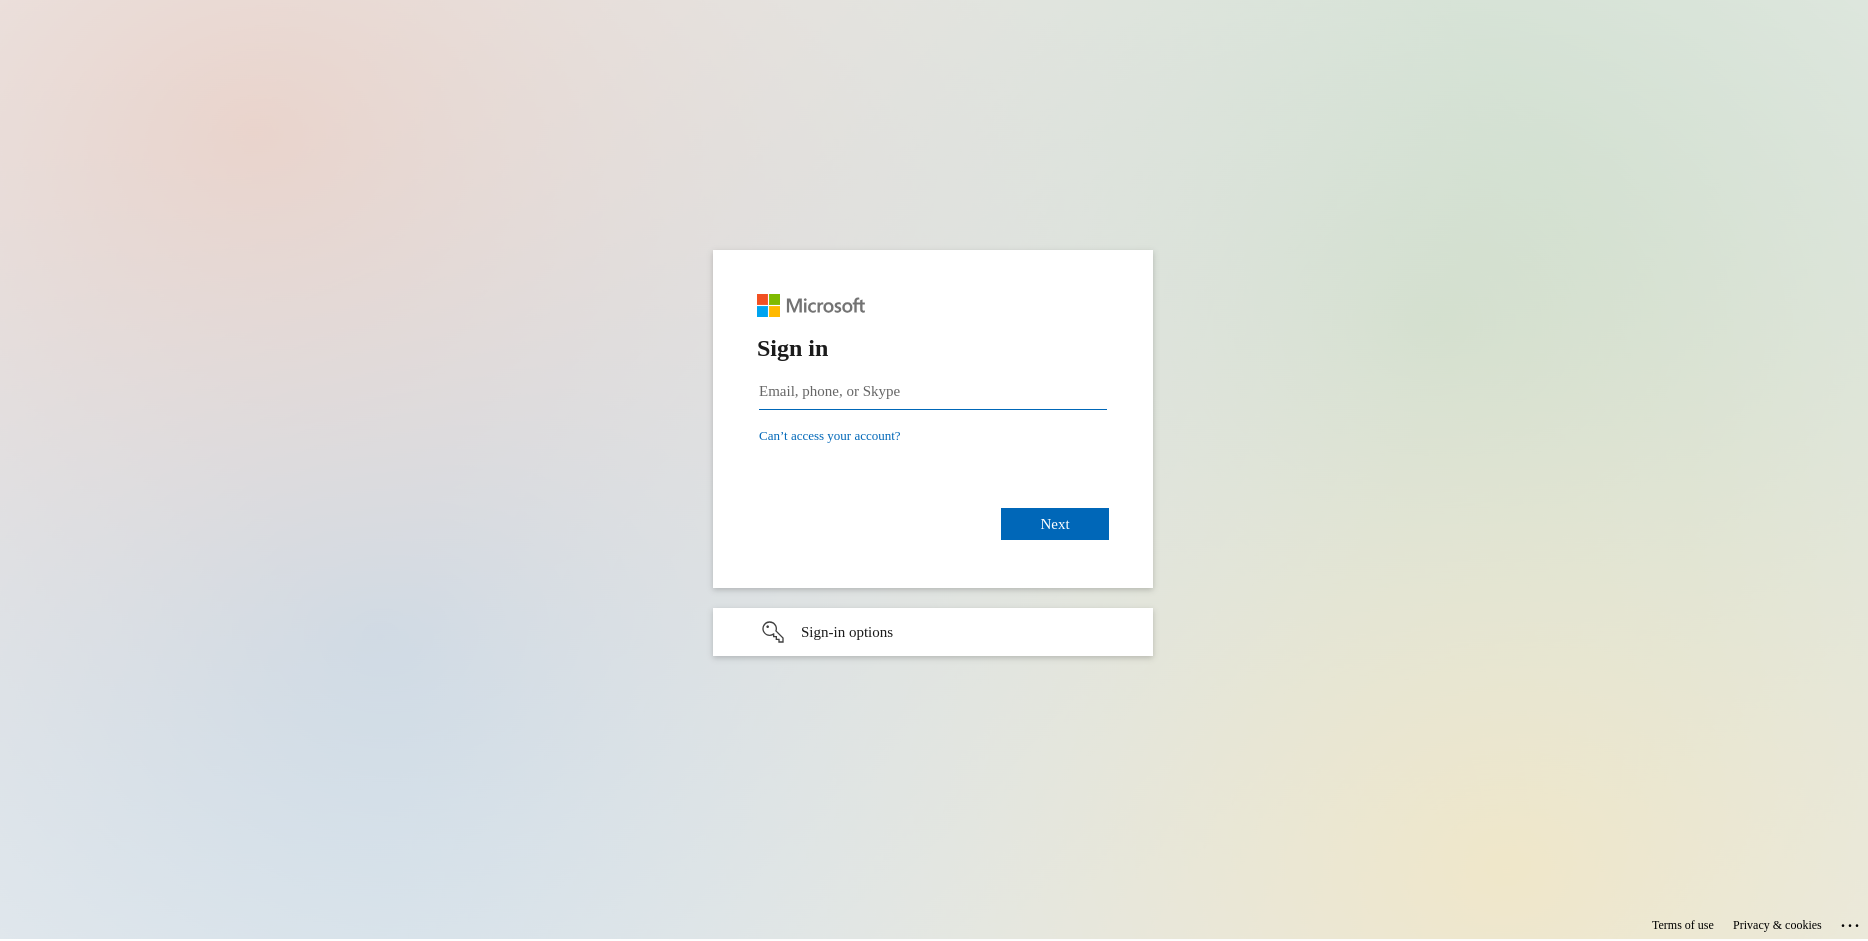
This will redirect you to the Microsoft login screen.
After logging in correctly, accept the request to log in to the Keycloak application. After that, you’ll return to Keycloak, where you’ll update your user profile. Both actions will only occur the first time you log in.
In this scenario, Keycloak takes over everything and authenticates and authorizes the user. As a result, there are no new login options on the screen, and Keycloak authentication is performed underneath according to how you implemented and configured the federation provider. Here’s what you need to do to configure Keycloak in this scenario:
1. Log in to the administration panel in Keycloak and select the User federation tab.

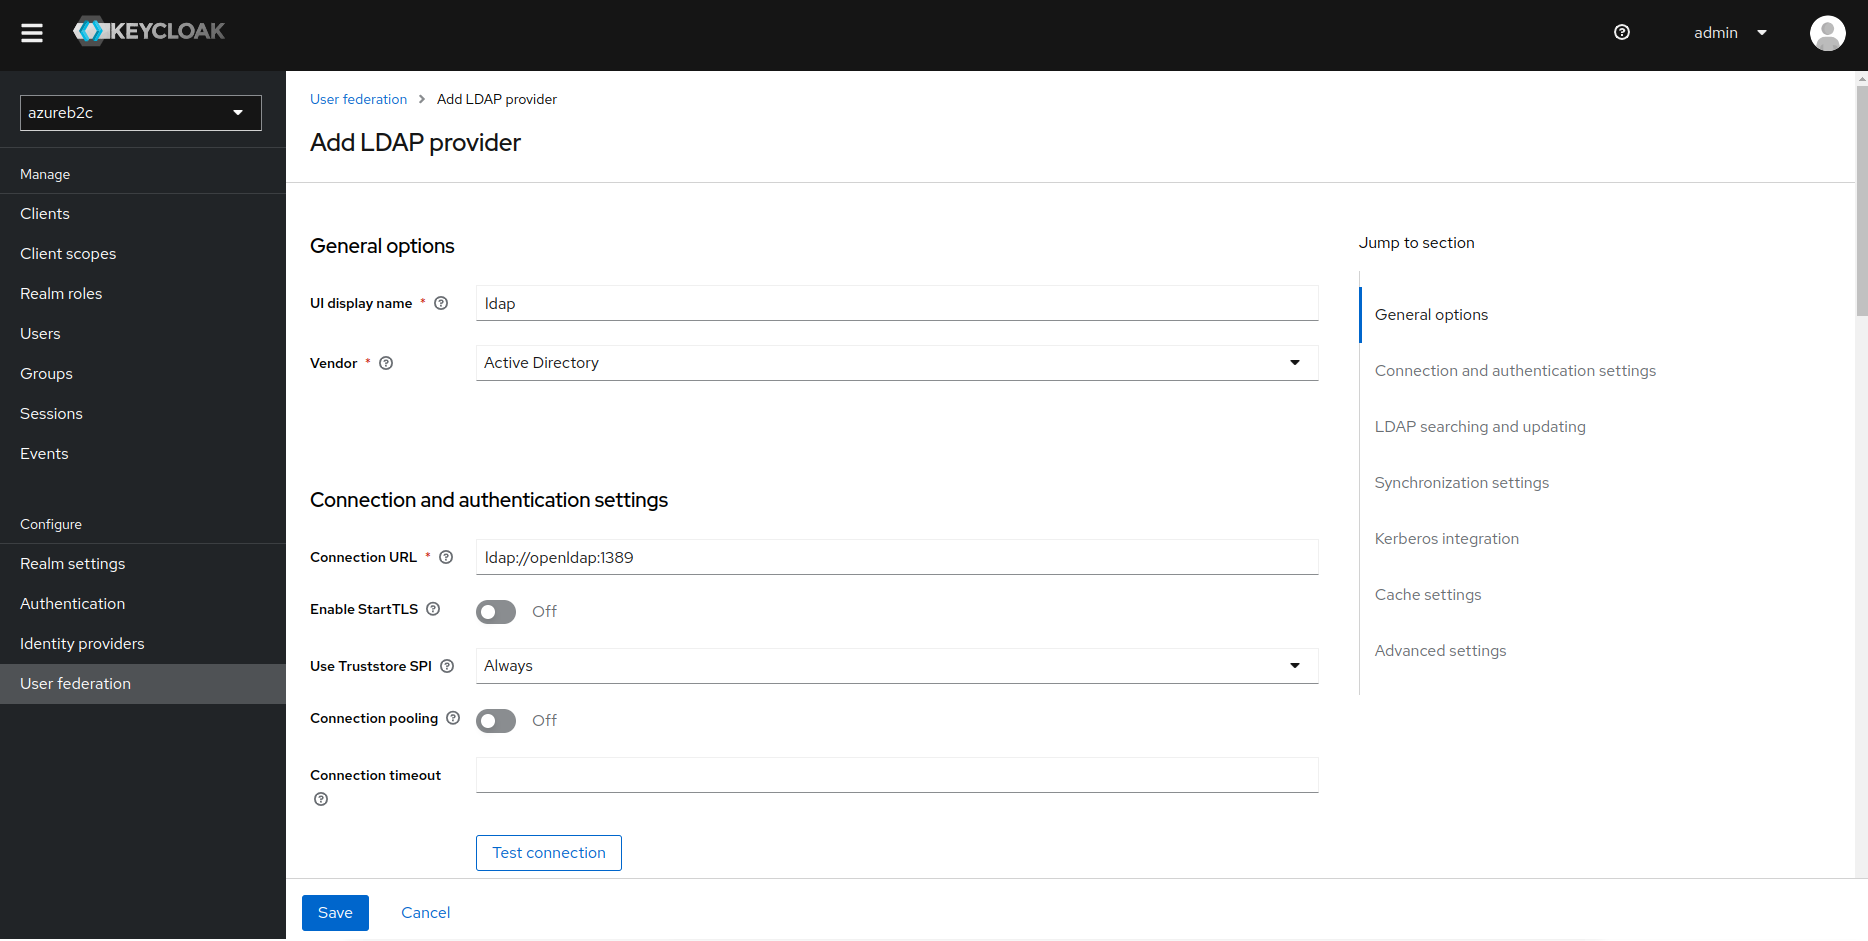
2. Add a new provider via Add Ldap providers
3. Complete all the configuration according to the data from your LDAP and save
4. Go to the login screen and enter your AD login details

The username and entered password will be validated with the LDPA in AD.
And that’s it. As you can see, configuring Keycloak to work with Azure AD isn’t terribly complicated, which is one of the reasons why it’s a good IAM alternative to Azure AD B2C. Moreover, it fixes several problems introduced by Microsoft’s solution and provides top-notch security, tested by many well-known corporations worldwide.
If you’re interested in Keycloak, we have a small gift for reaching the end of this article – a handy Keycloak Estimation Cheat Sheet you can use to estimate how much it’ll cost to use it together with Microsoft Azure. You can download the PDF file completely free of charge.
If you want to know more about the Keycloak IAM platform, check out our other articles dedicated to this subject:
If you need further help with projects related to identity and access management or are looking for a team to carry them out, contact us at hello@pretius.com (or use the contact form below). We have plenty of experience with technologies such as Keycloak and Okta and will happily use our knowledge for your benefit.


