
This article shows how to use Docker to set up the Jupyter Notebook platform on an OCI computer machine (or locally on your laptop). You’ll also learn how to configure your credentials to call the OCI Generative AI service and set up the SSL and custom domains to access your notebook.
Only follow these instructions if you want HTTPS/SSL
1. Obtain your Origin Certificate and Key from Cloudflare (or your Domain Registrar), e.g SSL/TLS > Origin Server > Create Certificate
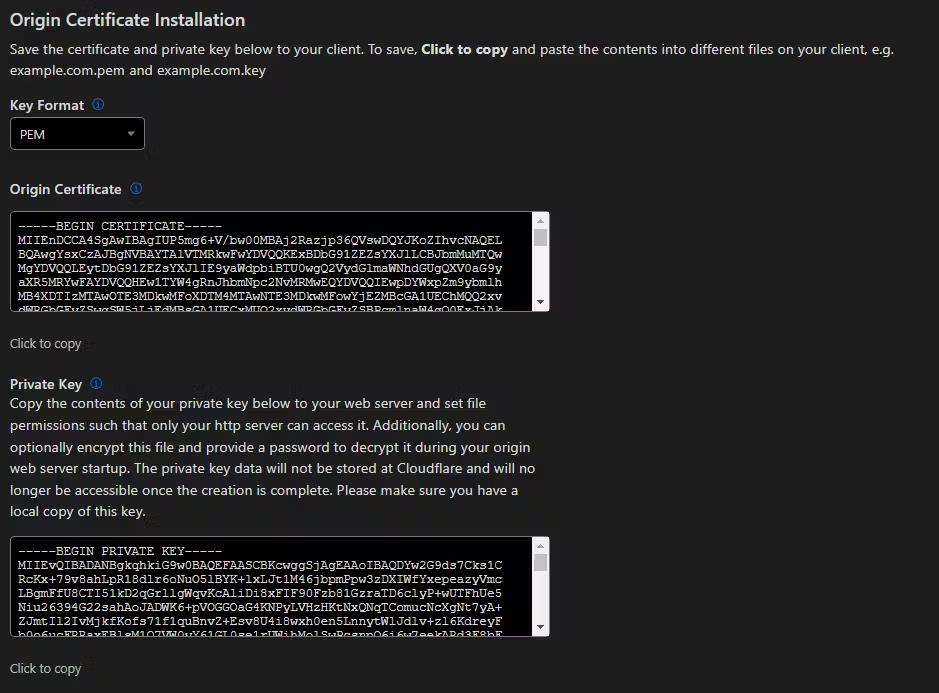
2. Create your key
nano notebook.key
Then paste it:
nano notebook.crt
And paste in the cert.
3. (Optional) If you don’t have a key, create a key pair
openssl req -x509 -nodes -days 365 -newkey rsa:2048 -keyout notebook.key -out notebook.crt
4. Start the container, which will first download the image
docker create -it --name jupyter -p 10000:8888 \
     -e GEN_CERT=no \
     quay.io/jupyter/scipy-notebook:latest \
     start-notebook.py \
     --ServerApp.keyfile=/etc/ssl/certs/notebook.key \
     --ServerApp.certfile=/etc/ssl/certs/notebook.crt
5. Copy the keys to the container
  docker cp notebook.key jupyter:/etc/ssl/certs/notebook.key
  docker cp notebook.crt jupyter:/etc/ssl/certs/notebook.crt
6. Start the jupyter container
docker start jupyter
7. Now go to your NGINX Proxy Manager Panel. Here is a guide if you’ve not set it up
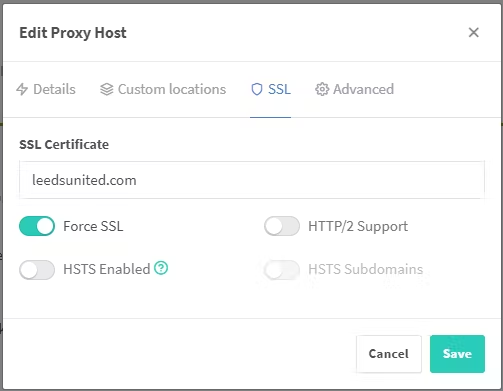
8. Create a Proxy host like this. I had to use the local IP address of the compute box for some reason, as it wasn’t resolving. Also, Websockets Support must be on

9. Then choose your Origin Certificate
Only follow these instructions if you want HTTP, not HTTPS. Start the container, which will first download the image:
docker run -d -it --name jupyter -p 10000:8888 quay.io/jupyter/scipy-notebook:latest
1. Now the container is running, list the Logs.
docker logs jupyter
Gives you the URL, including the token:
[I 2024-06-09 14:55:38.236 ServerApp] http://127.0.0.1:8888/lab?token=abc
2. Open Ports 10000 using this guide, e.g.
 sudo firewall-cmd --permanent --zone=public --add-port=10000/tcp
 sudo firewall-cmd --reload
Then add an Add Ingress Rule to the Default Security List also by following this guide.
3. Put the URL in the browser (without the token), but make sure to change the port from 8888 to 10000 and your IP (or use localhost)
To fetch your IP, type the following:
curl ipconfig.io
Then format the URL like this:
http://19.19.19.19:10000/lab
Or like this:
http://localhost:10000/lab
Or, if you use SSL, like this:
https://my-custom-domain/lab
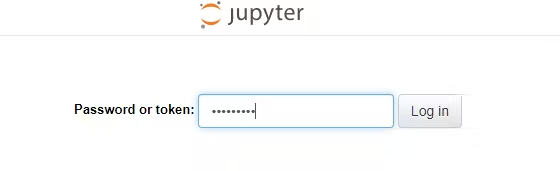
4. Paste the URL into your browser
5. Paste in the token (from the logs) and set a new password
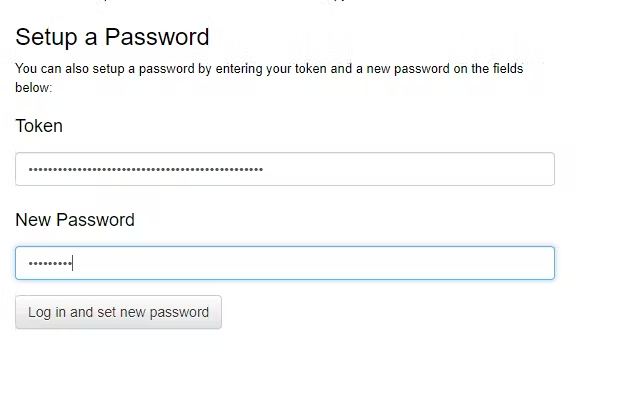
6. You can now use your password to log in the future rather than the token.
7. Click on Terminal

8. Install OCI SDK
pip install oci
9. Create an .oci folder to hold the credentials
mkdir ~/.oci
10. Create a new PEM file in Nano (we won’t edit it just yet)
nano ~/.oci/oci_api_key.pem
11. In OCI, Click Profile > My Profile
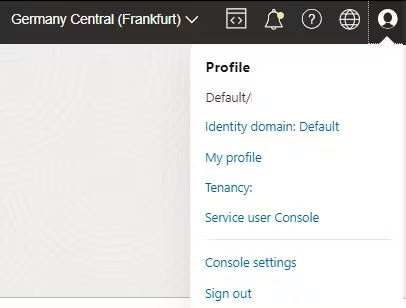
12. Click API Keys > Add API Key > Download API Key
13. Don’t touch anything in OCI yet. Open the downloaded file in VSCode and copy it to the clipboard
14. Back in Jupyter Console, paste it into Nano and use CTRL+X to save and exit.
15. Back in OCI, press Add
16. Don’t touch anything in OCI yet. Keep the window open
17. Back in Jupyter Console, type
nano ~/.oci/config
18. Copy the info from OCI to the clipboard
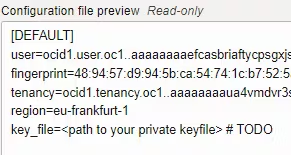
19. Paste it into Nano
20. Change the last line to:
key_file=~/.oci/oci_api_key.pem
21. CTRL+X to save and exit Nano
1. Go to the OCI Generative Playground
2. Type in a query and hit submit
Give me 5 fun bullet point facts about Leeds United
3. Click View Code > Python > Copy Code
4. In Jupyter, click Python3 (ipykernal) icon
5. Paste the code directly in
6. Click the Run/Play icon or shift-enter to run
7. Enjoy!
Of course, you need the Dracula Theme. So:
1. Install it in the terminal
pip install JLDracula
2. Refresh the Browser
3. Settings > Themes > JLDracula
And that’s about it – with these steps, you should be all set to use Jupyter Notebook. If you have any questions, reach out to me at mmulvaney@pretius.com. Also, if you’re interested in AI-related content, I advise you to check out some of the other articles on the Pretius blog:


