
As Oracle APEX developers, ensuring our applications can handle real-world usage is a technical necessity.
Load testing is an essential part of this process, yet it often involves complicated manual setups or reliance on commercial tools.
The Pretius JMeter APEX Template addresses this need by providing a configurable, open-source starter project designed specifically for Oracle APEX load testing using Apache JMeter.
This project implements a JMeter login/logout script for APEX environments:
The idea is to use a sample APEX application to perform this test on.
You can ramp up the number of users and scale up, so imagine 100 users simultaneously trying to log in and log out of your APEX environment. Now imagine how that would fare? JMeter can answer these questions.
Additionally, you can add some DB-intensive activities (script provided) on the Home Page to simulate load. Now run it with 100 users and see how that goes.
WARNING: Performing performance testing on oracleapex.com violates the ORACLE APEX SERVICE AGREEMENT that you accepted when you signed up.
You can find the same guide here.
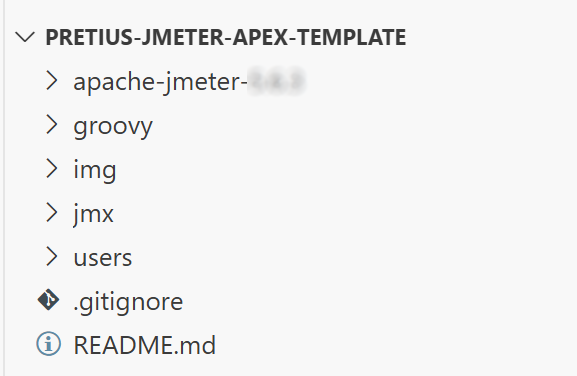
1. Download this repo.
2. Download the latest JMeter binaries from the website (do not download the source).
3. Extract the binaries to the root folder, i.e /pretius-jmeter-apex-template/apache-jmeter-x.x.x.
1. Navigate to /pretius-jmeter-apex-template/apache-jmeter-x.x.x/bin and run the ./jmeter command.
2. Open the /jmx/Pretius Starter.jmx project.
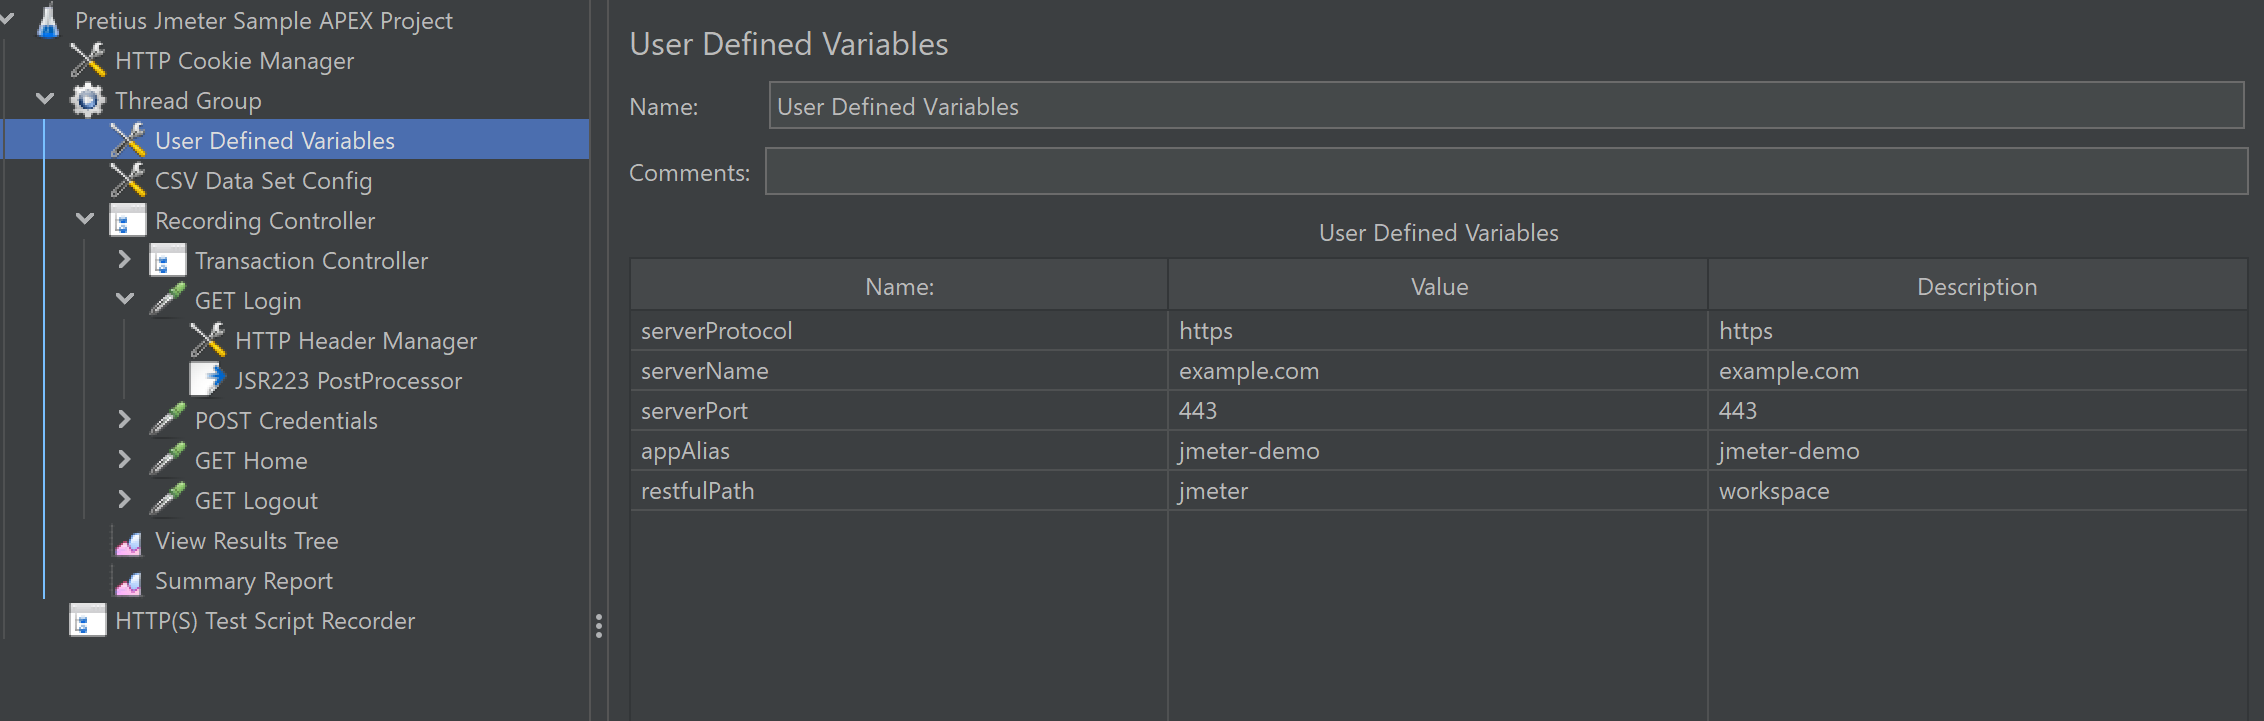
3. Expand the tree to find User Defined Variables and change the variable values to refer to your app, e.g. https://example.com/ords/r/jmeter/jmeter-demo.
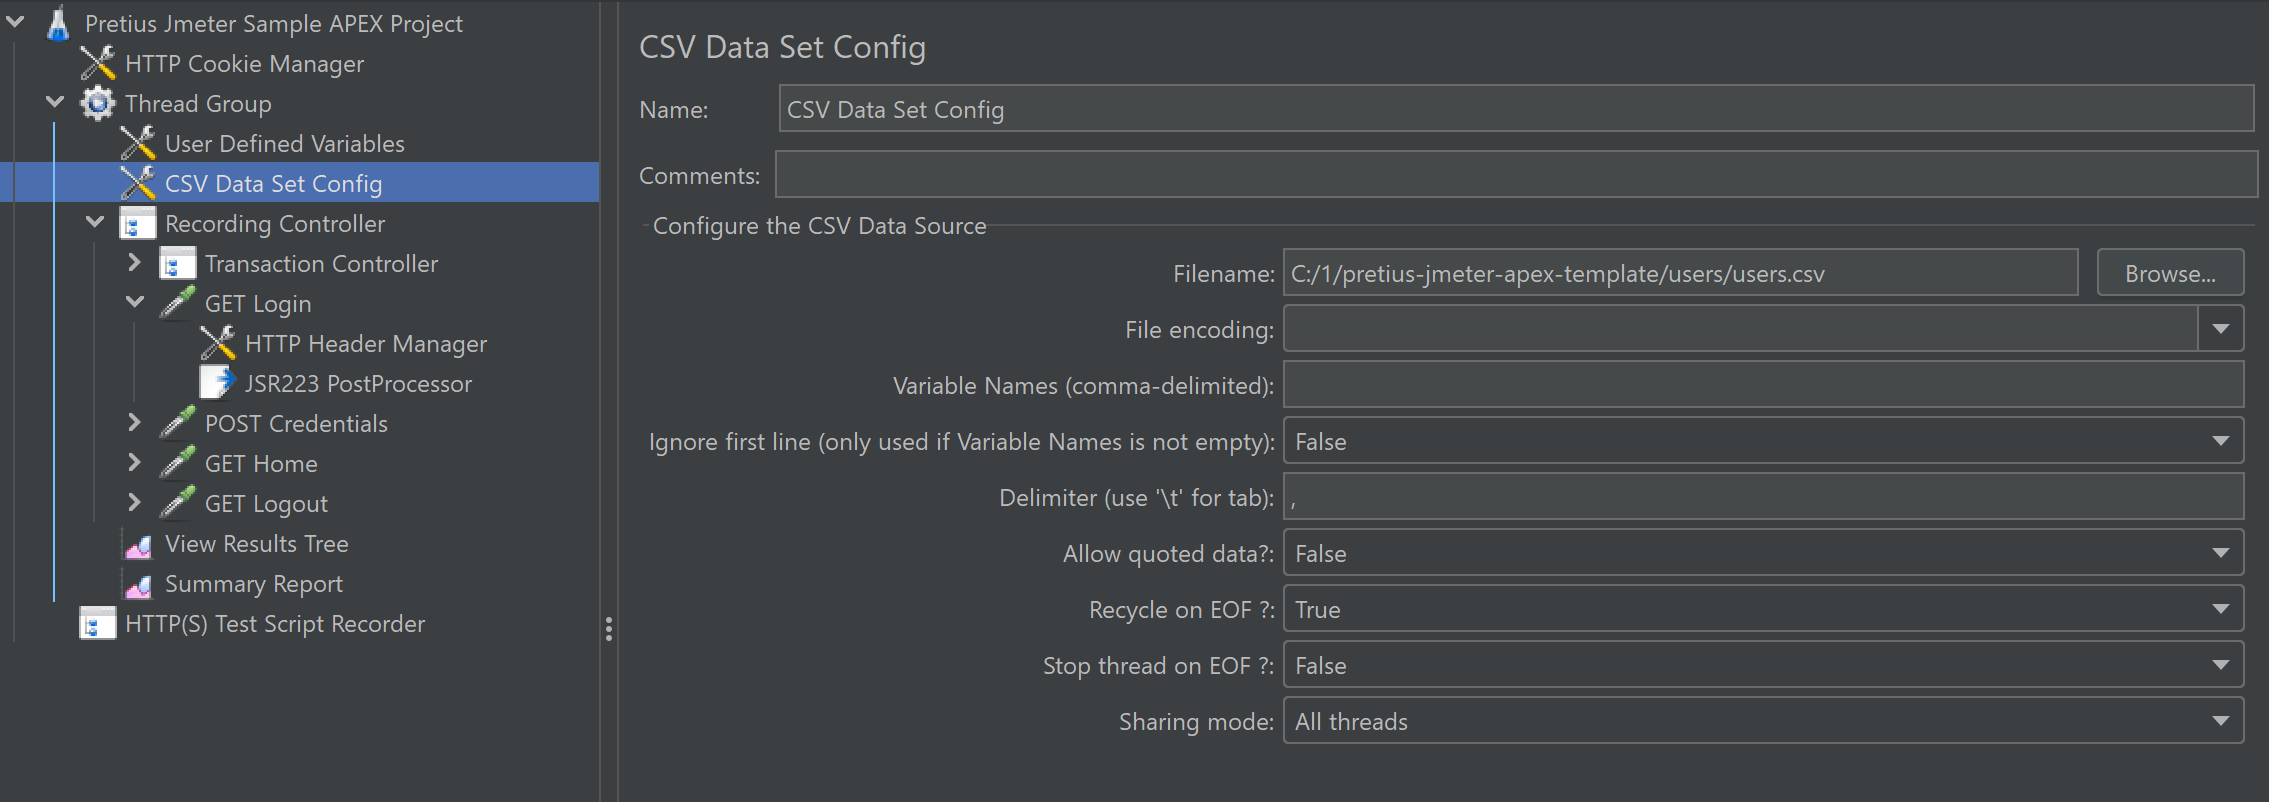
4. Find CSV Data Set Config and use the Browse button to change the File Name to point at /users/users.csv.
5. Modify the /users/users.csv file to add your Usernames and Passwords you want to use.
 username,password
 enter_username_here,password_goes_here
Alternatively, create a new Default Custom APEX authentication scheme of:
function my_authentication (
 p_username in varchar2,
 p_password in varchar2 )
 return boolean
 is
 begin
   return true;
 end;
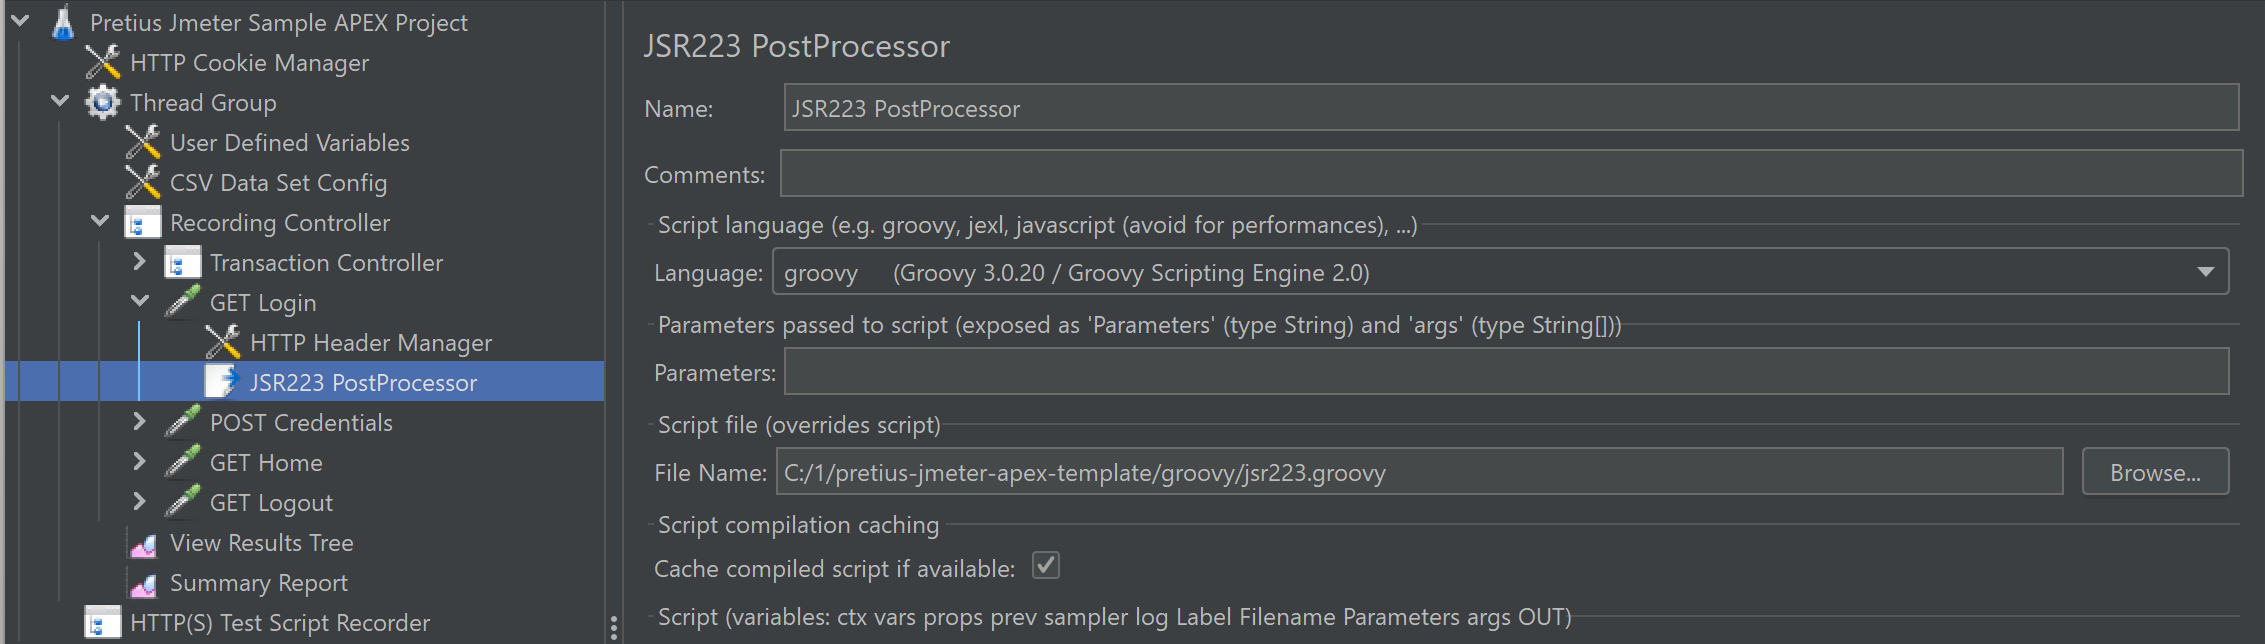
6. Find JSR223 PostProcessor and use the Browse button to change the File Name to point at /groovy/jsr223.groovy.
7. File > Save.
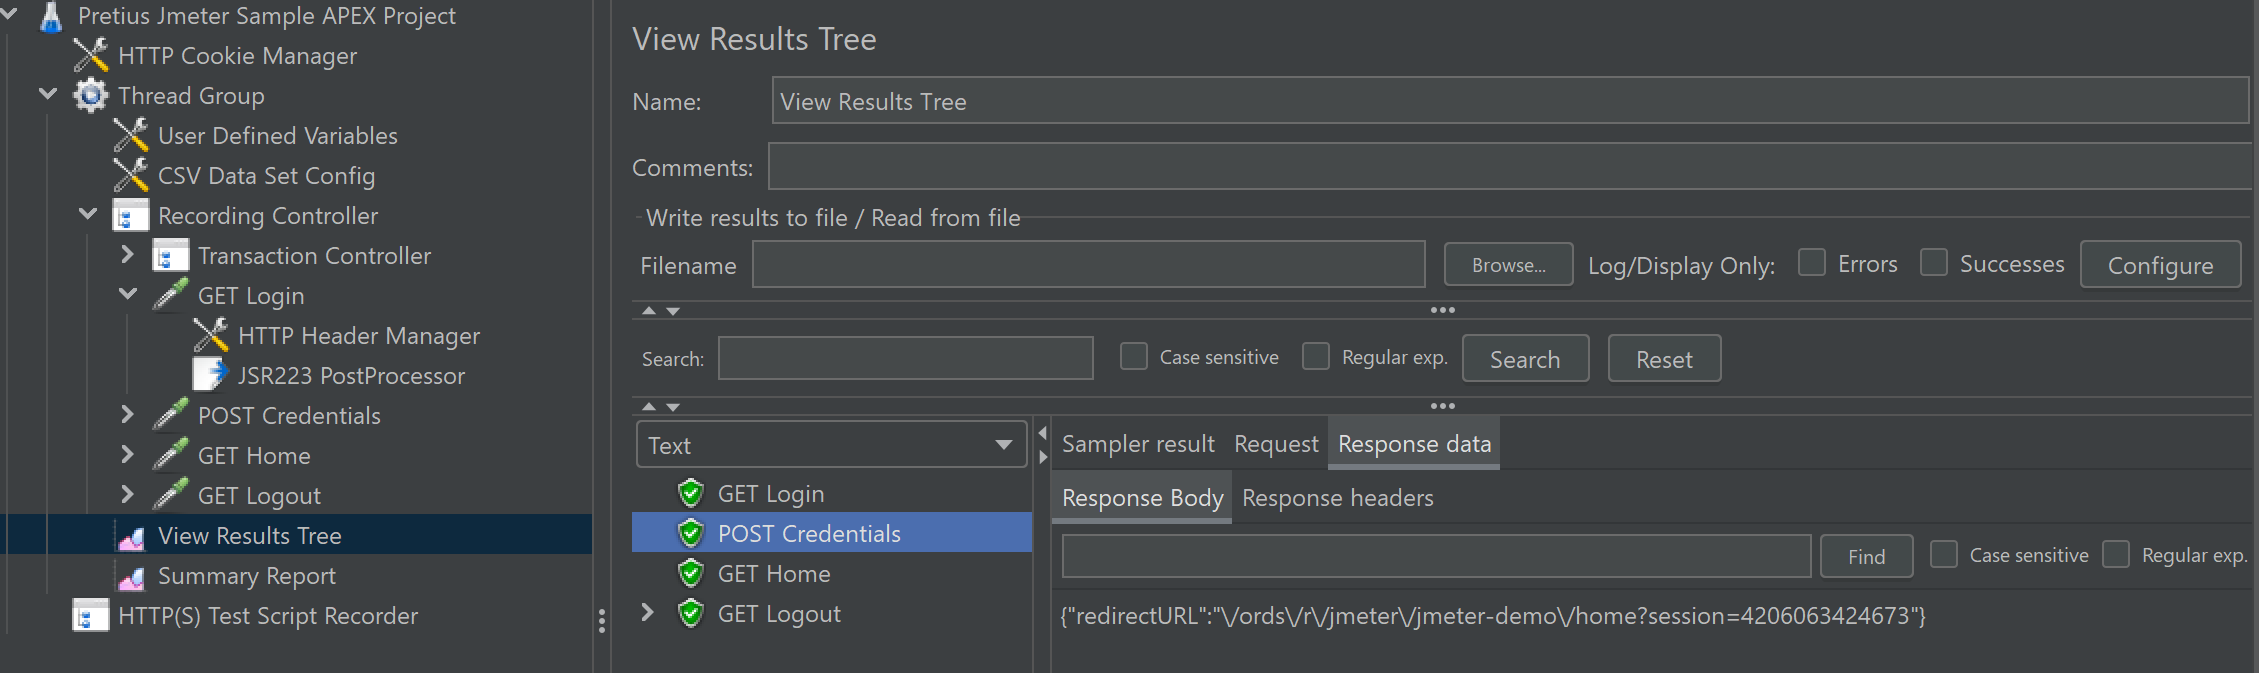
1. Click on View Results Tree.
2. Click the Clear All icon on the toolbar.
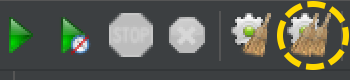
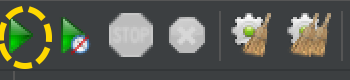
3. Click the Start icon on the toolbar.
4. Observe the results. Specifically, you are looking for a valid redirectURL in the Response Body of the POST Credentials step.
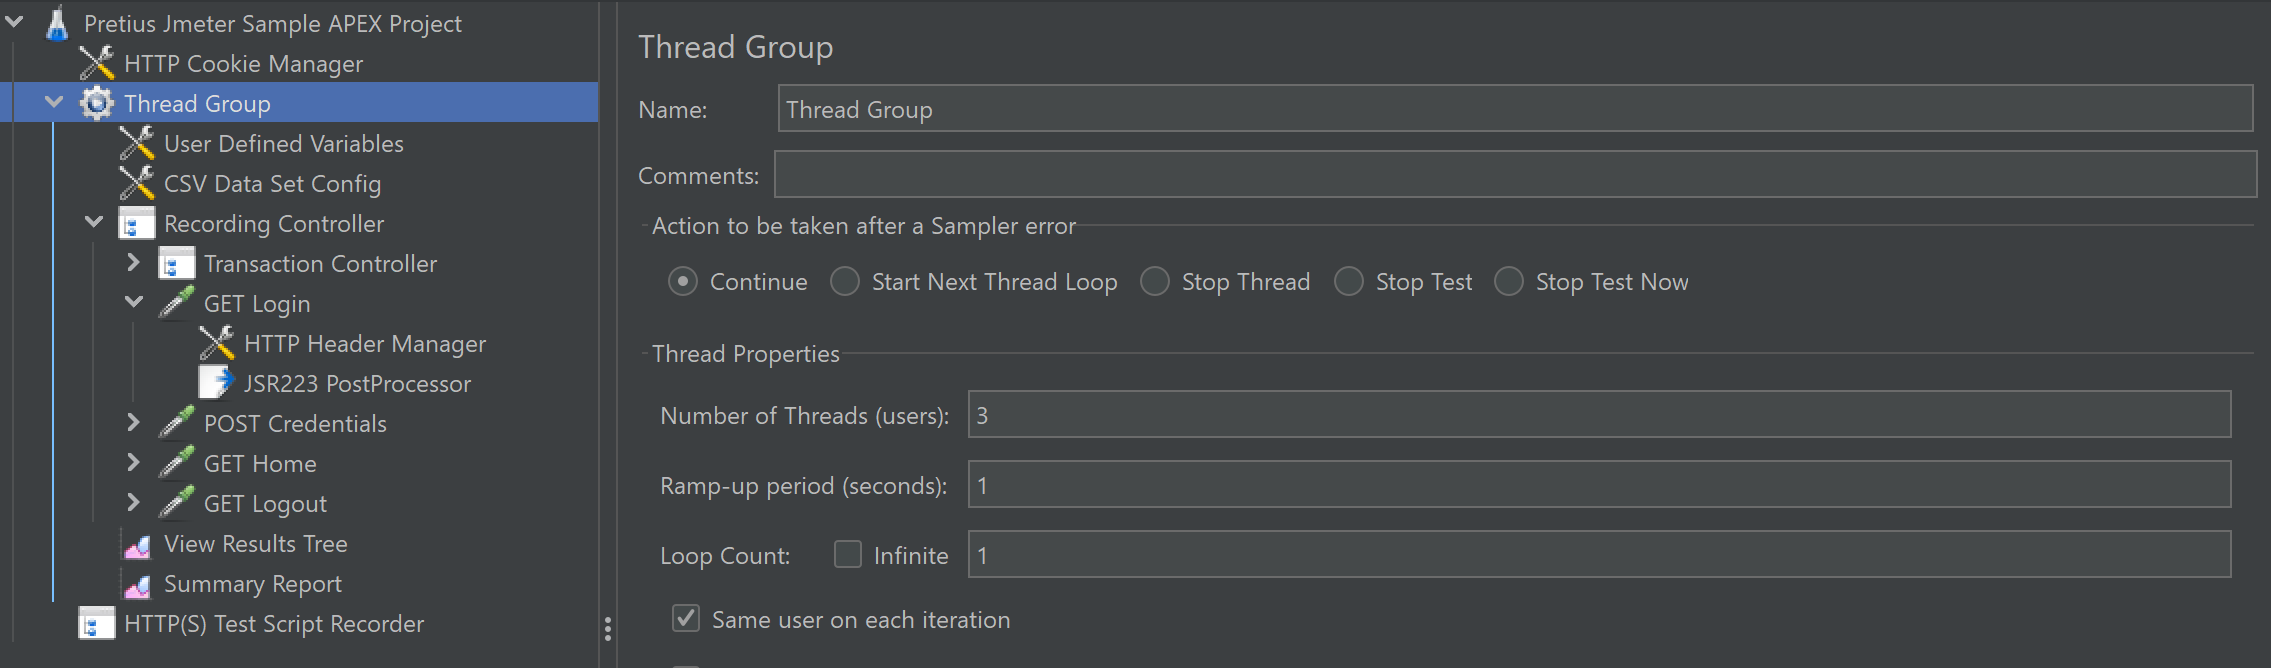
1. Find Thread Group.
2. Adjust the Number of Threads (Users), e.g, 3.
3. Adjust the Ramp-up period (Seconds), e.g, 3.
4. Run the project (see steps above).
1. In APEX, edit your Home Page.
2. Add a Dynamic Content Region with the following code:
  DECLARE
      l_collection_name VARCHAR2(100) := 'TEST_COLLECTION';
      l_member_id NUMBER;
      l_start_time PLS_INTEGER;
      l_end_time PLS_INTEGER;
      l_elapsed_seconds NUMBER;
      l_result VARCHAR2(4000);
  BEGIN
      -- Record start time
      l_start_time := DBMS_UTILITY.GET_TIME;

      -- Enable debug logging
      APEX_DEBUG.ENABLE(p_level => APEX_DEBUG.c_log_level_info);

      -- 1. Delete the collection if it exists
      IF APEX_COLLECTION.COLLECTION_EXISTS(p_collection_name => l_collection_name) THEN

          APEX_COLLECTION.DELETE_COLLECTION(p_collection_name => l_collection_name);
                    APEX_DEBUG.INFO('Collection deleted: %s', l_collection_name);
      END IF;

      -- 2. Create a new empty collection
      APEX_COLLECTION.CREATE_COLLECTION(p_collection_name => l_collection_name);
      APEX_DEBUG.INFO('Collection created: %s', l_collection_name);

      -- 3. Fill the collection with 2500 members
      FOR i IN 1..2500 LOOP
          l_member_id := APEX_COLLECTION.ADD_MEMBER(
              p_collection_name => l_collection_name,
              p_c001 => 'Member_' || i,
              p_c002 => 'Description for member ' || i,
              p_c003 => 'Category_' || MOD(i, 10),
              p_n001 => i,
              p_n002 => i * 1000,
              p_n003 => ROUND(i / 10, 2),
              p_d001 => SYSDATE + i
          );

          IF MOD(i, 500) = 0 THEN
              APEX_DEBUG.MESSAGE('Added %s members to collection', i);

          END IF;
      END LOOP;

      -- Get final count
      SELECT COUNT(*) INTO l_member_id FROM apex_collections WHERE collection_name = l_collection_name;
      APEX_DEBUG.MESSAGE('Total members in collection: %s', l_member_id);

      -- 4. Delete the collection
      APEX_COLLECTION.DELETE_COLLECTION(p_collection_name => l_collection_name);
      APEX_DEBUG.INFO('Collection deleted: %s', l_collection_name);

      -- Calculate elapsed time
      l_end_time := DBMS_UTILITY.GET_TIME;
      l_elapsed_seconds := (l_end_time - l_start_time) / 100;

      -- Build detailed result message
      l_result := 'SUCCESS: Created collection with ' || l_member_id || ' members and deleted it. ' ||
                  'Execution time: ' || ROUND(l_elapsed_seconds, 3) || ' seconds (' ||
                  ROUND(l_elapsed_seconds * 1000, 1) || ' ms)';

      APEX_DEBUG.INFO(l_result);

      RETURN l_result;

  END;
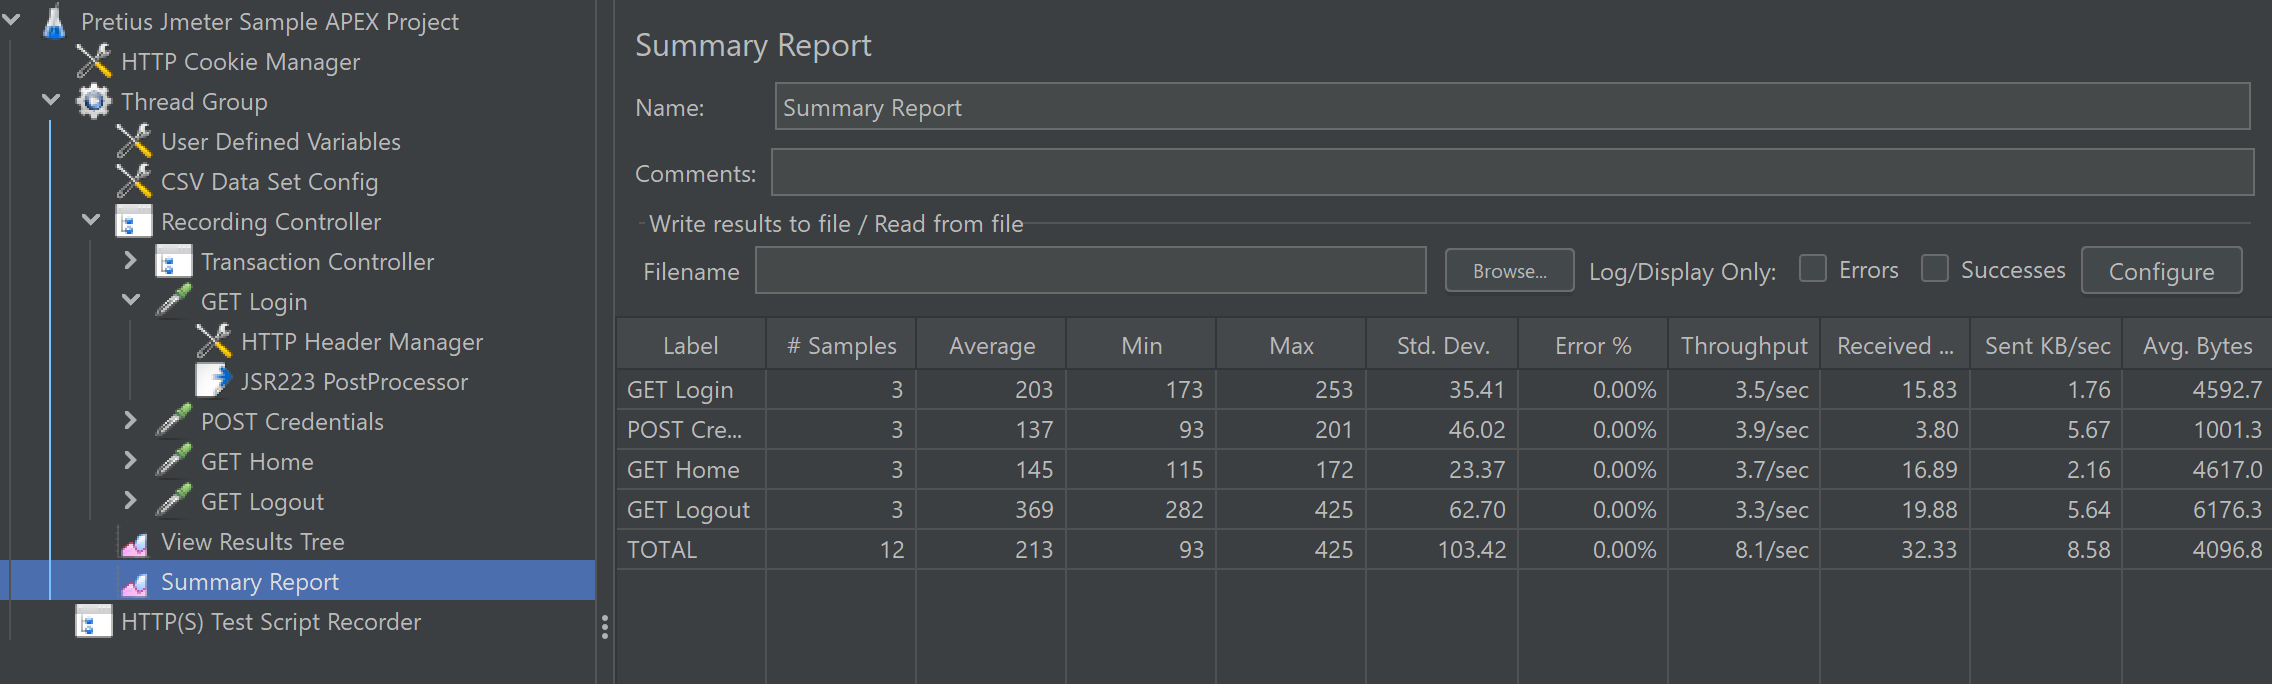
Find the Summary Report.
1. Add the following line to apache-jmeter-x.x.x\bin\jmeter.properties, which is required for Oracle APEX applications:
# Remove Accept-Encoding from recorded headers

 proxy.headers.remove=Accept-Encoding,If-Modified-Since,If-None-Match,Host
2. Quit & restart JMeter.
3. The first time you run the recorder, JMeter automatically generates a root certificate file named /bin/ApacheJMeterTemporaryRootCA.crt.
4. In Firefox, go to Settings (or Options) → Privacy & Security → down to the Certificates section.
5. Click View Certificates, then Import.
6. Select the JMeter certificate file /bin/ApacheJMeterTemporaryRootCA.crt.
7. Approve any prompts to trust the certificate for website identification.
8. Still in Firefox, go to Settings → Network Settings (scroll to the bottom).
9. Click Settings for Network.
10. Choose Manual proxy configuration.
11. Set the HTTP proxy to localhost and port 8888.
12. Check Use this proxy server for all protocols.
13. Click OK to apply changes.
14. Start browsing/recording the target application. JMeter will capture all HTTP/S requests.
And that’s about it. If you’re interested in similar APEX-related content, check out some of my other articles on the Pretius blog:


